
Why This 6-Step Routine Works
This simple, repeatable routine focuses on prevention, protection, and repair to turn dry, frizzy hair into silky, manageable strands. Shock: heat styling damages up to 80% of hair’s surface, but smart steps restore smoothness fast with minimal effort and time.
What You’ll Need
Gentle sulfate-free shampoo, moisturizing conditioner/mask, wide-tooth comb, microfiber towel or old T shirt, heat protectant, hair oil/serum, blow dryer with diffuser, flat/round iron (optional), basic detangling skill.

6-Step Hair Care Routine for Gorgeous Locks
Step 1 — Prep Before You Wet Your Hair
Want silkier hair before you even step into the shower? This pre-wash move makes a big difference.Detangle dry hair gently with a wide-tooth comb or paddle brush to remove knots and reduce breakage. Apply a lightweight oil or pre-shampoo treatment (argan, jojoba, or a light coconut blend) to the mid-lengths and ends to shield strands from swelling and cuticle lifting.
Massage your scalp for 3–5 minutes with fingertips to boost circulation and loosen surface oil and dirt so shampoo works without over-scrubbing. If your hair is very dry, consider a 10–20 minute oil pre-treatment—warm the oil and let it sit while you shower warms up, then shampoo as usual.
Key actions:
Step 2 — Choose and Use the Right Shampoo
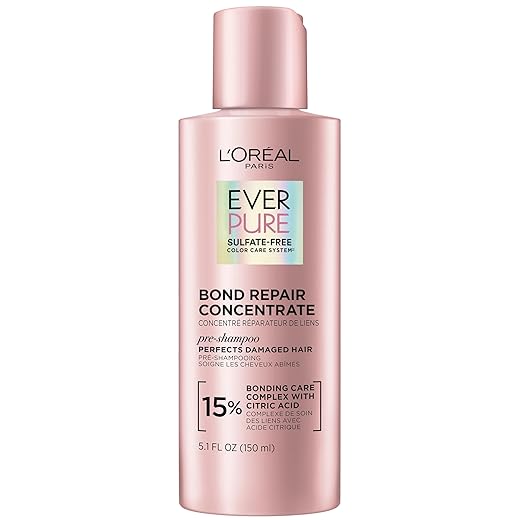
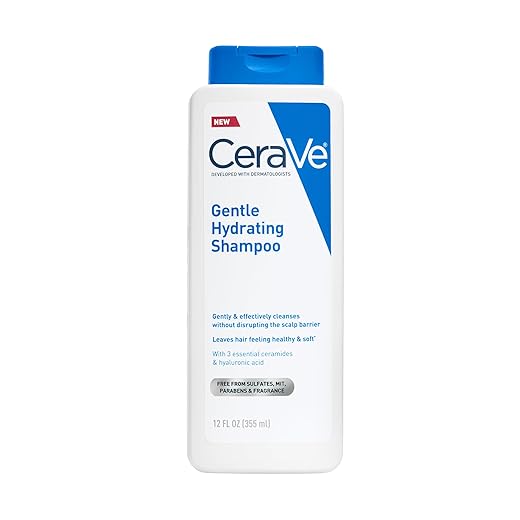
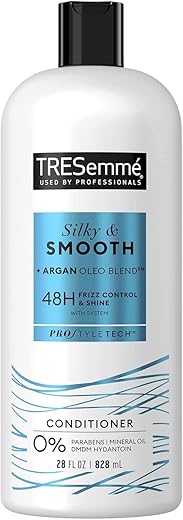
Did you know sulfates might be stealing your shine? Pick cleansers that protect natural oils.Choose a gentle, sulfate-free shampoo tailored to your hair type. Examples:
Apply shampoo only to the scalp—massage gently with fingertips for 30–60 seconds to lift oil and debris—then let the suds run down the lengths to cleanse without stripping. Rinse thoroughly in lukewarm water; very hot water opens the cuticle and increases frizz. Limit shampooing frequency based on your hair’s needs (2–3× weekly is common for drier hair) to preserve natural moisture.
Step 3 — Condition Like a Pro (Rinse or Deep-Condition?)
One-minute rinse vs deep mask — which wins? Spoiler: both, at the right times.Apply a rich conditioner from mid-lengths to ends immediately after rinsing shampoo. Avoid the roots unless your scalp is dry; concentrate on damaged or porous sections (think: bleached ends or split tips).
Use your fingers or a wide-tooth comb to distribute product evenly and detangle gently—work from ends upward to prevent breakage. Leave basic conditioner on 1–3 minutes; use a deep-conditioning mask once weekly for 10–20 minutes to replenish moisture and mend cuticles. Examples: shea- or argan-enriched conditioners for moisture, keratin or protein masks for damage repair.
Finish with a brief cool-water rinse to help seal the cuticle and increase shine.
For extra slip and reduced friction, apply a small amount of leave-in conditioner to damp hair before styling.

Step 4 — Drying Techniques That Prevent Frizz
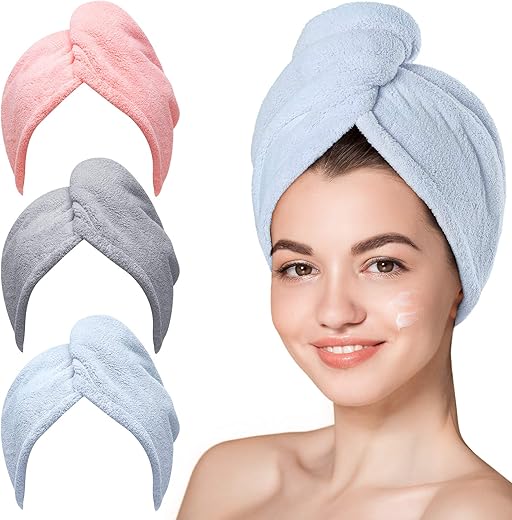
Ditch the terry towel—your hair will thank you. Dry smarter, not harder.Pat excess water gently with a microfiber towel or old cotton T‑shirt—avoid harsh rubbing that roughens cuticles and creates frizz. If you air-dry, scrunch lightly for texture or smooth with your hands for sleekness. Example: after shower, wrap hair in a T‑shirt for 10 minutes, then let it finish air-drying.
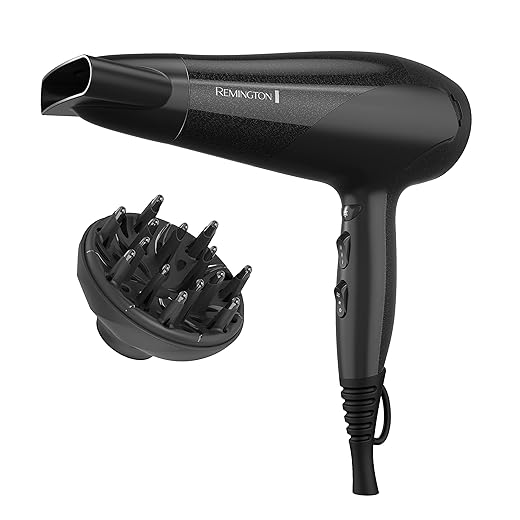
Use a blow dryer with a nozzle attachment on medium heat and low speed for faster drying; keep the dryer moving and point airflow down the hair shaft to align cuticles. For curly or wavy hair, diffuse on low heat to maintain shape and minimize disruption. Always apply a heat protectant before any heat styling.
Key reminders:
Step 5 — Smart Heat Styling and Protection
Flat iron is not the enemy—use it like a surgeon. Protect first, then style.Set hot tools to the lowest effective temperature for your hair type. Example: for fine hair use 250–300°F (120–150°C); for thick or coarse hair you may need up to 380°F (193°C).
Work in small, ½–1 inch sections and glide the tool slowly but steadily — aim for one smooth pass per section (about 1–3 seconds) to avoid repeated passes and excess damage.
Coat hair thoroughly with a quality thermal protectant before styling. Finish flat-ironed sections with a light mist or a drop of hair oil on the ends to seal the cuticle and add shine.
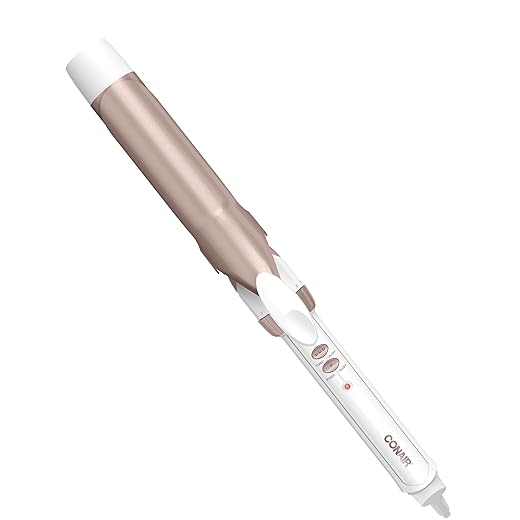
Use ceramic or tourmaline barrels for curling wands to reduce hot spots and frizz.
Avoid styling damp hair with high heat; always fully dry hair first to prevent steam damage and cuticle lifting.
Step 6 — Finishing and Ongoing Maintenance
Small rituals that keep frizz away for days—sleep habits, serums, and touch-up tricks.Finish with an anti-frizz serum or lightweight hair oil, applying a pea-sized amount to the ends and any flyaways — use sparingly to avoid greasiness. Choose a product with humectant blockers or a light silicone-based shield for added humidity protection (look for lightweight dimethicone or cyclomethicone formulas).
Bring It All Together
Consistent use of these six steps tailors care to your hair and environment; gentle handling, proper products, heat protection, and maintenance transform texture over time. Try routine a month, share your results, and inspire others to start their silky journey.

Hello! I’m Ava Wilson, a passionate advocate for healthy, beautiful hair. With years of experience in the hairstyling industry and a deep-rooted love for all things hair, I’ve made it my mission to share valuable insights and expert tips on nurturing and styling locks.


Tried the method in Step 2 — picked a shampoo based on ‘moisture’ label and my hair reacted weirdly (felt heavy). Turns out I picked a product with silicones that caused buildup.
Note to self: read ingredients 🤦♂️ Also, anyone else find clarifying once a month is enough?
Thanks all — will try chelating shampoo next month and avoid dimethicone-heavy shampoos.
Hard water in my city made a huge difference until I started using a chelating shampoo monthly.
Yep, silicones can make hair feel heavy over time, especially if not rinsed well. Clarifying monthly is a good baseline for most people, more often if you use lots of styling products or hard water.
Really liked the product-agnostic tips, but could we get a short cheat sheet for “best option by hair type”? Like a 1-line pick for fine, thick, curly, color-treated, etc. It’d make shopping sooo much easier.
Also, are leave-ins necessary for fine hair? I’m confused — they sometimes make mine look greasy.
We’ll draft a short cheat sheet and add it to the guide soon. Thanks for the suggestion!
Also consider layering: a light leave-in + a tiny bit of serum only on ends. Works for me.
Great idea, Zoe — a cheat sheet would be very helpful. Quick answers: fine hair — lightweight leave-ins or milks, avoid heavy oils; thick/coarse — richer creams and oils; curly — moisture-rich conditioners and leave-ins; color-treated — sulfate-free and color-safe lines. For fine hair, use a tiny pea-sized amount of leave-in or apply only to ends.
I have fine hair and use a spray leave-in — not greasy and gives a bit of control.
Love this guide — finally something that breaks down the routine without being overwhelming.
I tried Steps 1 and 4 this morning (prepped with a microfiber towel + plopped for 10 min) and my frizz looked 60% better by noon.
Question: for Step 3, when you say “rinse or deep-condition?” — how do I decide based on hair porosity? Any quick signs to tell?
I’m high porosity and I swear by a weekly deep condition with a little coconut oil mixed in. Makes a huge diff.
Quick tip: if your hair tangles super easily when wet, it’s probably high porosity. If water beads on it at first, low porosity.
Great to hear it helped, Emma! For porosity: high-porosity hair soaks up water quickly but dries fast and feels porous — go for deeper conditioning and proteins occasionally. Low porosity resists water (products sit on top) — use lighter conditioners and slightly warmer water. If you want, tell me your hair type (fine/curly/thick) and I can suggest a routine.
Short and sweet: I skipped Step 1 for years and that tiny prep step seriously made all the difference. Pre- detangle before wetting = less breakage.
Highly recommend the wide-tooth comb tip in Step 1.
Agree — and use a conditioner as slip when detangling under the shower. Saved my life.
Yesss, pre-detangling is underrated. Helps products work better and reduces mechanical damage when wet.
Okay real talk — I followed Step 5 about heat protection and STILL fried my ends last month. 😭
I was using a “heat protectant” spray but maybe it wasn’t good enough? I use a straightener at around 375°F. Should I lower temp? Also how often is too often for heat styling if I still want sleek hair? Need help, pls.
Also consider a protein/moisture balance. If your hair is damaged, start with deep conditioning and protein treatments before more heat.
I dropped to 320°F and it helped loads. Also do slower, single pass instead of 2-3 quick passes — less overall heat exposure.
Thanks all — changing temp and trying deep-condition weekly. Fingers crossed. 🙏
If you want, mention your hair thickness and how often you heat style — I can recommend temps and products that usually work well.
Oof, that’s rough. A few points: (1) 375°F is high for fine hair; try 300–330°F for fine/medium, up to 350–380°F for very thick hair. (2) Use a true thermal protectant (silicone-free or silicone-based depending on your preference) and let it dry before applying heat. (3) Limit straightening to 1–2x/week if possible; use non-heat styles or heat-free smoothing techniques in between.
I appreciate the structure, but I think the guide glossed over scalp care. It mentioned shampoo but not exfoliation or scalp massaging. For anyone dealing with flakes or scalp buildup, skipping that part won’t fix frizz. More scalp tips would be great.
Good point, Jason. Scalp health ties directly to hair health. A gentle exfoliating scrub 1x every 1-2 weeks (or a clarifying shampoo) and regular massage to boost circulation are helpful additions. We’ll update the guide to include a scalp care mini-section.
Thanks for flagging it — appreciate the constructive feedback.
Seconding this — I started scalp massages and my hair actually felt fuller and less greasy.
Step 4 = game changer. Who knew flipping your head upside down while diffusing would make my roommates actually compliment my hair 😂
Also, is air-drying always better than towel-drying? Asking for science (and laziness).
Diffusing with your head flipped helps lift the roots and reduce frizz by allowing curls to set. Air-drying can be gentler, but it depends on your hair type and time. For many, a microfibre towel + gentle scrunching then air-dry is a good combo. If you need volume fast, low heat diffusing is fine with heat protectant.
Air-drying for the win if you have time. But if you’re rushed, do the microfibre towel + low heat diffuser. No towel rub, tho — that ruins the cuticle.
Hmm this was helpful but I felt a bit lost on product recs. You say “choose the right shampoo” — but what’s the simplest way to pick if I’m on a budget? Also, is sulfate-free always better? 🤔
(sorry for the million q’s, I’m new to caring for my curls)
Short answer: prioritize your hair need (moisture, repair, volume). For budget: pick a gentle shampoo labeled for your main concern (hydrating, color-safe). Sulfate-free is gentler and better for dyed/curly/dry hair, but if your scalp gets very oily or you use lots of styling products, a sulfate shampoo occasionally can help clarify.
And one more tip — look at the ingredient list: avoid lots of alcohols (drying) and heavy silicones if you don’t want buildup. But a little silicone in a rinse-out conditioner can help smooth frizz for a while.
I use a cheap sulfate-free one and it lasted months. The bottle looked boring but my hair loved it lol.
If you’re on budget, buy smaller bottles or try travel sizes first. Saves money if it doesn’t work. Also co-washing once a week can help reduce shampoo usage.
LOL the “Bring It All Together” section felt like getting a warm hug from my hair routine. 😅
But serious: does anyone have a no-fail finishing product that doesn’t weigh down waves? My hairspray makes my hair crunchy and my creams make it limp.
For waves, try a lightweight serum or oil applied sparingly to mid-lengths and ends, then a light mist of flexible-hold hairspray for hold without crunch. Look for products labeled “flexible hold” or “anti-frizz finish.”
I’ve been using a tiny dab of argan oil and it gives shine without weigh-down. Apply to towel-dried hair, not scalp.