Why Heat-Proof Hair Matters
Quickly prevent breakage, split ends, and dullness by learning intentional heat-use habits. This six-step guide shows simple, fast strategies—prep, tame temperature, refine technique, upgrade tools, repair post-heat, and build a lasting routine—to keep hair STRONG, shiny, and damage-free easily today.
What You'll Need
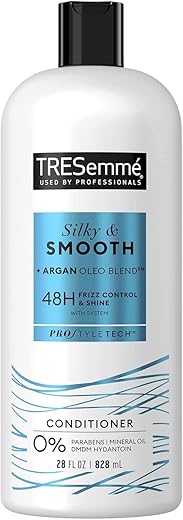
Using Heat Protectant Spray for Damaged Hair: Quick, Easy Bond Support
Prep with a Heat-Protectant Ritual
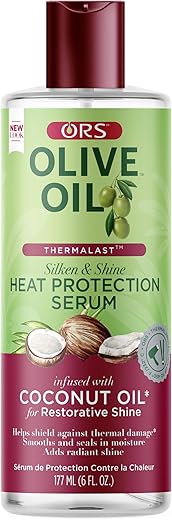
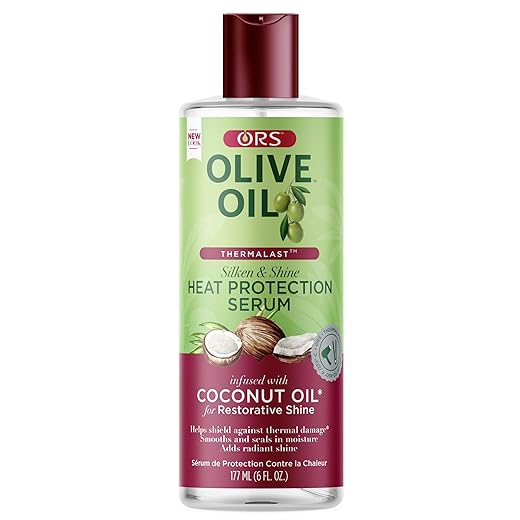
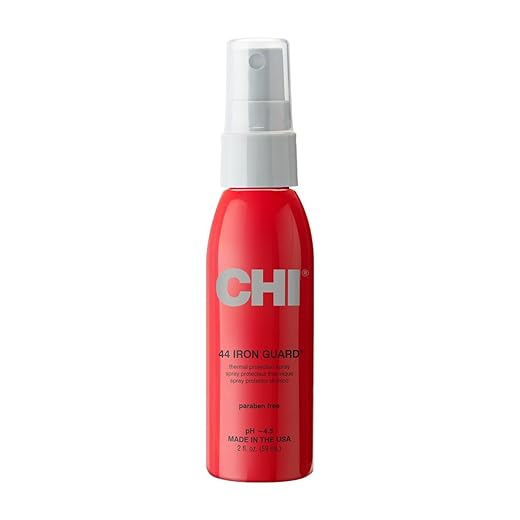
Want salon shine without the singe? This one step can cut heat damage in half.Apply a dedicated heat-protectant to damp hair every time before blow-drying or flat-ironing. Work the product into roots and ends so it forms an even film that shields strands from high temperatures.
Use a product that lists silicones, film‑formers, or heat‑protective polymers on the label (sprays, creams, serums all work). Section hair and distribute product evenly—don’t just mist the top layer.
Wait 30–60 seconds after application so the protectant sets and creates a reliable barrier before you apply heat.
Tame the Temperature: Use the Right Heat Setting
Higher heat doesn’t equal faster or better—match the thermostat to your hair type.Adjust your tool’s temperature to match your hair’s porosity and thickness. Set the dial before you touch a section.
Start low and increase only if the style won’t hold. Raise in small steps (10–20°F / 5–10°C) rather than jumping to the max. For example, if fine, color-treated hair at 250°F still frizzes, try 275°F before moving to 300°F.
Use digital controls when possible for precise settings and consistent heat. Test on a small, unseen section of hair first to confirm the setting won’t scorch or create excessive dryness before styling your whole head.
Technique Matters: Section, Dry, and Glide
Are you blasting and praying? Learn the pro moves stylists won’t stop telling you.Blow-dry hair until about 80–90% dry before smoothing. Work in small, consistent sections so heat is focused and exposure time short. Keep tools moving; avoid holding a flat iron in one spot. Use a comb as a guide in front of a flat iron for smoother results and fewer passes over the hair.
Don’t fight water with an iron. Blow-dry hair until about 80–90% dry before smoothing. Work in small, consistent sections so heat is focused and exposure time short. Keep tools moving; avoid holding a flat iron in one spot. Use a comb as a guide in front of a flat iron for smoother results and less passes over the hair.

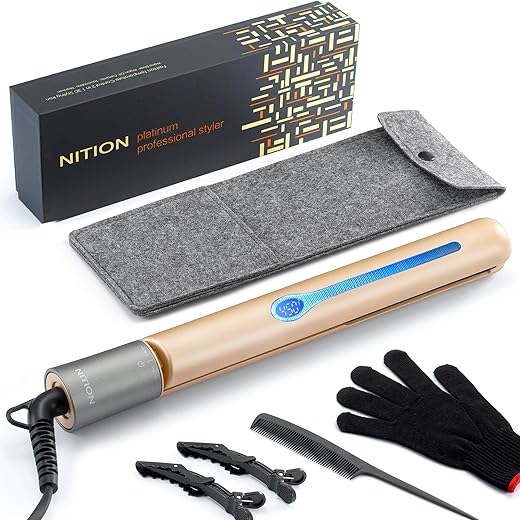
Upgrade Your Tools: Invest in Damage-Reducing Tech
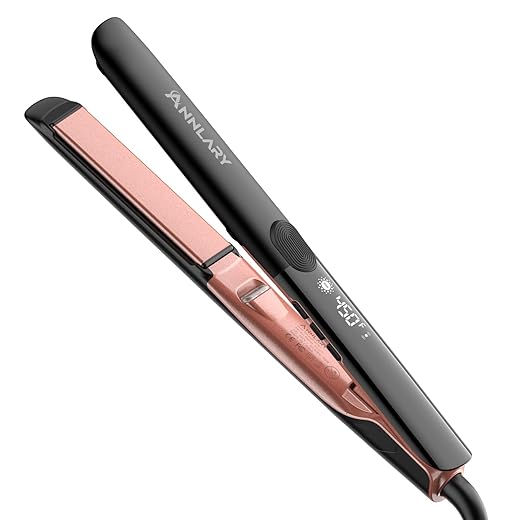
Ceramic, tourmaline, ionic—pick the tech that actually protects, not just markets.Choose tools with even-heating plates like ceramic or tourmaline, and prioritize devices with precise digital temperature control and ionic technology to reduce frizz and cut down on multiple passes. For example, a tourmaline flat iron with digital readout lets you lock in a consistent temp and glide once instead of several times.
Look for these features:
Replace or service tools when plates chip or heaters fail — worn tools create uneven hot spots and increase damage.
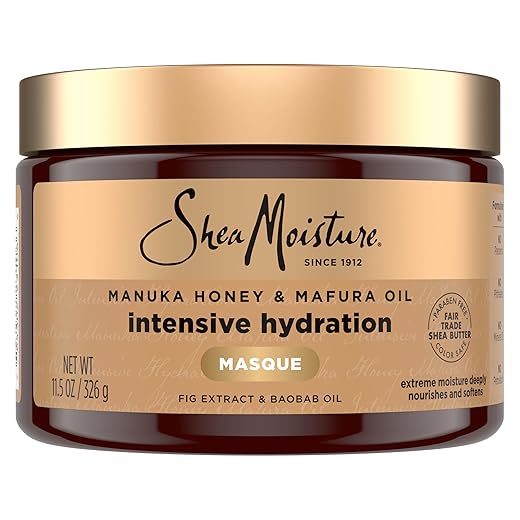
Post-Heat Care: Seal, Nourish, and Repair
Heat styling isn’t a one-and-done—how you finish affects hair health tomorrow.Apply a lightweight serum or oil to seal the cuticle and lock in moisture — try a pea-sized drop of argan or squalane oil on mid-lengths and ends (avoid the roots).
Finish with a cool blast from your dryer for 30–60 seconds to set the style, flatten the cuticle, and add shine.
Use a weekly deep-conditioning mask (leave 10–20 minutes under a shower cap) and rotate in a protein treatment every 4–8 weeks for heat-weakened strands — choose keratin or amino-acid-based formulas for repair.
Trim split ends every 6–10 weeks; remove ¼–½ inch to stop splits from traveling up the shaft.
Create a Heat-Proof Routine: Frequency, Rest, and Alternatives
You can’t straighten every day—here’s how to look polished while giving hair a break.Limit heat styling frequency—aim for no more than 2–3 heat sessions per week to give strands time to recover.
Rotate with heatless looks like braids, foam rollers, twist-outs, or low-manipulation protective styles (loose buns, wigs) to reduce friction and daily handling.
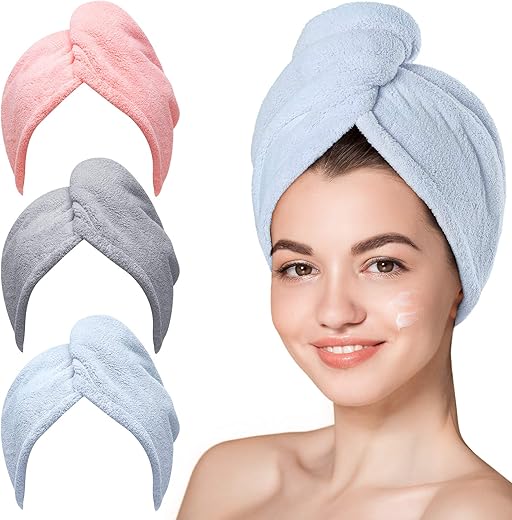
Sleep on silk or satin to prevent breakage and frizz; tuck ends into a silk scarf or use a pillowcase.
Use a heatless refresher between washes: spritz water + leave-in conditioner or braid damp hair overnight for waves instead of reheating.
Schedule regular deep treatments (weekly masks, monthly protein boosts) and trims every 6–10 weeks to remove damage.
Track your styling days on a calendar or app—note when you heat-styled (e.g., Mon: blowout, Thu: flat iron) to build a sustainable, low-damage routine.

Make Heat-Proofing a Habit
Small changes—right product, temp, technique, tools, and aftercare—add up to visibly healthier hair. Try these six steps, track your progress, and share your results to inspire others today, then repeat.

Hello! I’m Ava Wilson, a passionate advocate for healthy, beautiful hair. With years of experience in the hairstyling industry and a deep-rooted love for all things hair, I’ve made it my mission to share valuable insights and expert tips on nurturing and styling locks.


Not sure I buy the ‘invest in tech’ section — my $20 straightener works fine? Can someone explain why the expensive ones are worth it?
I upgraded and noticed I needed fewer passes. Saved time and my hair stopped feeling fried. Worth it for me.
Lower-cost tools can work, but higher-quality irons offer more consistent temperature control, better plate materials (titanium/ceramic), and features like adjustable heat and shorter heat recovery times. Those things translate to less re-pass and less damage over time.
This guide made me actually think about resting my hair more. I’ve been guilty of daily heat styling. The ‘create a heat-proof routine’ section encouraging cool-style days was practical. I added two no-heat days and my hair looks fuller!
Awesome! Rest days let hair recover and keep natural oils from drying out. Dry shampoo + low-manip styles can help keep looks fresh between heat days.
Long comment because this actually changed my relationship with styling:
Been straightening every day for 5 years and complaining about split ends. Followed the 6 steps: started with a real heat protectant, lowered temp, upgraded to a better flat iron, and added weekly masks. It’s been 3 months — my hair is shinier and breaks less. The guide’s step-by-step format made it easy to turn into a routine. You can do it even if you’re lazy, promise. 💁♀️
Amazing transformation, Zoey — thanks for sharing the timeline. Small consistent changes add up fast.
I used a silicone-based protectant spray and a mid-range ceramic iron. For masks, a hydrating one mid-week and protein once every two weeks.
Such encouraging progress. Congrats! Any product names you loved?
Is anyone else confused about temperature numbers? The guide says ‘tame the temperature’ but not exact temps for curly vs straight. Could use a small chart or quick reference. Still helpful overall tho.
Good point — quick reference: fine/damaged: 250–300°F; normal: 300–350°F; thick/coarse: 350–400°F. Curly hair often responds well to slightly lower temps with slower technique to preserve pattern and avoid frizz.
Thanks — that helps. I had been using 420°F… no wonder my curls escaped 😅
I appreciated the guide’s mention of repairing heat damage rather than just preventing it. The protein vs moisture balance is underrated. My hair needed more protein after months of straightening, and the guide’s suggestions helped me rebalance.
Yes — diagnosing whether hair needs protein or moisture is key. If hair snaps, it likely needs protein; if it stretches and feels limp, opt for moisture.
Never knew that — thanks! Will check my mask labels more carefully now.
Loved the humor in ‘Make Heat-Proofing a Habit’ — felt like the guide knew my laziness. Implemented the ‘set it out the night before’ trick and it’s actually saving me 10 minutes in the morning. Also, forgot to say: sunscreen for your hair? 😂 (kidding)
Glad the habit tips land — small systems beat big willpower. Also, UV protection for hair exists (UV sprays) if you ever need it for color protection.
Beach hat + UV spray = happy hair. 😉
Ooh, didn’t know about UV sprays. Not kidding anymore — need that for summer beach days!
Okay real talk: I always skip heat protectant when I’m late. Guilty. This guide’s section on making it a habit is realistic though — ‘pre-heat ritual’ = set out products the night before. Little systems help me stick to it.
Exactly — habit stacking works. Put the protectant next to your toothbrush or hairbrush so it becomes automatic.
I spray mine pre-shower and keep another bottle by the mirror for quick touch-ups. Cuts down on forgetting.
Same! I also set a reminder on my phone for super-busy mornings.
Short and sweet: USE A PROTECTANT. That’s all. 😂 Seriously, small bottle, dramatic results. Also if your tool has a temperature dial, use it—don’t just assume it’s ‘safe’.
Couldn’t agree more. Temperature control is the most overlooked feature.
This. I toss the ‘just wing it’ mentality. Protectant first, then tools.
Also check ingredient lists — some sprays have alcohol high up and can dry hair. Look for humectants and silicones if they work for you.
Random note: the guide could use more visuals for technique (like how to hold the straightener, angle, etc.). Words are great but a quick diagram/video would be clutch. Otherwise very practical and not preachy, which I liked.
YouTube has some good technique vids if you need something now.
Great feedback — visuals would definitely help. We’ll look into adding short clips showing angles and grip for different tools.
Yeah, a slow-mo hair demo would be perfect. The text is fine but visuals = faster learning.
Quick question — the guide recommends serum after styling. Does that mean I should skip oil? I have thick, frizzy hair and oils usually help taming it but worried about weighing down.
I mix a drop of oil with my serum on my palm, helps spread it evenly. Works wonders for frizz.
Good question! Serums and oils both work; the key is a tiny amount, applied mainly to the ends. For thick hair, a lightweight oil (argan, jojoba blend) after cool-down can seal and add shine without too much weight.
If you’re worried, try a leave-in that’s silicone-free first. Oils can be heavy depending on type.
Tiny rant: why do so many heat-protectant sprays smell like chemicals? I want something that doesn’t assault my nose but still works. The guide mentions formulations but any recs?
I use a scent-free serum from a sensitive-skin line — no smell and still does the job.
Fragrance-free or low-fragrance formulas exist. Look for ethanol-free sprays and products with ingredients like dimethicone or cyclomethicone for protection without heavy scent. Brands often label ‘fragrance-free’ or ‘sensitive’.
Love this guide — finally something that actually explains why heat protectants matter. I started using a lightweight spray from step 1 and my ends stopped feeling crunchy. The tip about sectioning hair (step 3) is a game changer. Also, anyone else find that lower temps + more passes work better than one hot blast?
Yep. I used to crank it to the max and my hair looked nice for a day then felt fried. Slow and steady wins the race 😂
Totally — lower temps with more gentle passes reduce cumulative damage. Glad the sectioning tip helped! Try a ceramic iron and aim for 300–350°F if your hair is normal; lower if it’s fine.
Tried to follow the ‘section, dry, and glide’ advice and my blowouts look pro now. But man, I underestimated how long it takes to section properly. Worth it though. Anyone with tips to make sectioning faster?
I use a tail comb to quickly map sections and plastic claw clips — cheap and speeds things up.
Use clips and pre-part hair into 4 main sections (top, left, right, back), then subdivide as needed. Practice reduces time — you’ll get faster after a few tries.
Love the step about post-heat repair. I started doing a weekly deep mask and it actually made my styling easier. Pro tip: apply the mask mid-lengths to ends, not scalp. My scalp HATED it the first time 😂
Nice tip. And yes — focus masks on lengths/ends unless product specifies otherwise for scalp health.
Do you have suggestions for good drugstore masks? Trying to keep costs down.
Yesss. Weekly masks = little investment, big impact. I alternate protein and moisturizing masks.
I’ve been doing the routine for 2 weeks and noticed less breakage. PSA: sleep on a silk pillowcase too — the guide’s ‘seal and repair’ section mentions it and it actually helps. Also, use a towel-wrap technique to reduce friction when drying. 😴
Yes — silk/satin reduces friction and preserves hairstyles. Great addition, Carlos!