How to Fix Uneven Results from Hair Lightener Spray Application
If you’ve experienced uneven results from hair lightener spray, don’t worry! Our step-by-step guide is here to help. Follow these simple steps to fix any patchy spots and achieve a more even and professional-looking hair color.
Top Hair Lightener Sprays


Gather the necessary supplies
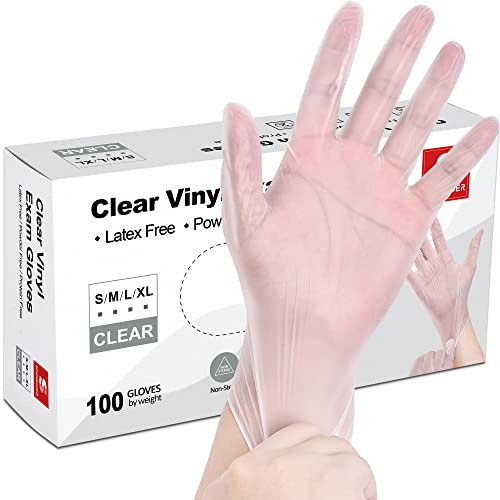
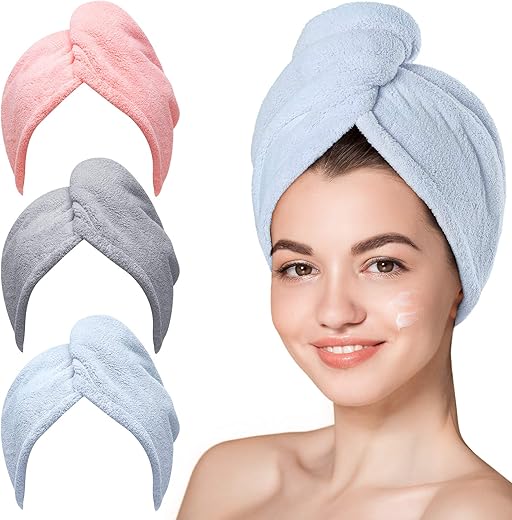
Before you begin, gather all the supplies you will need for the task. Start by getting the hair lightener spray, which is essential for achieving the desired result. Make sure you have a pair of gloves to protect your hands from any potential irritation or chemical reactions. Additionally, grab a towel to drape over your shoulders, preventing any spills or stains on your clothes. A mirror is crucial to see the progress and ensure even application of the product. Finally, grab a comb to help distribute the lightener evenly throughout your hair. By having all these supplies ready, you can proceed with the process smoothly and efficiently.


Prepare your hair
Wash and towel-dry your hair: Start by wetting your hair thoroughly under the shower. Apply a small amount of shampoo and gently massage it into your scalp, working your way down to the ends of your hair. Rinse out the shampoo completely with warm water. Once you’re done washing, gently squeeze out excess water from your hair using a towel. Be careful not to rub your hair vigorously as it can cause damage and frizz.
Ensure your hair is completely dry: Before moving on to the next step, it’s crucial to make sure your hair is fully dry. Use a clean towel to gently pat your hair and absorb any remaining moisture. If you have time, allow your hair to air dry naturally. Alternatively, you can use a blow dryer on a low heat setting to speed up the drying process. Remember, it’s important to avoid applying any styling products or heat to damp or wet hair as it can lead to damage.
Comb through your hair: Once your hair is completely dry, take a wide-toothed comb or a brush with soft bristles and gently comb through your hair to remove any tangles or knots. Start from the ends and work your way up to the roots, being careful not to pull or tug too forcefully. This step will make it easier for the spray to distribute evenly throughout your hair, ensuring maximum effectiveness. Take your time and be patient, especially if your hair is prone to tangling.


Section your hair
Divide your hair into sections using clips or hair ties. Start by gathering a small section of hair at the top of your head and clip it out of the way. Then, take another section of hair from the sides and clip it as well. Continue this process, working your way down the back and sides of your head, until all of your hair is neatly divided into sections. If you prefer, you can also use hair ties to secure each section instead of clips. This step is crucial as it allows you to apply the spray evenly and ensures that every strand of hair is covered. By sectioning your hair, you’ll achieve a more thorough application and a flawless finish.


Protect your skin
To protect your skin from the lightener spray, apply a thin layer of petroleum jelly or a similar product along your hairline and on your ears. This simple step will effectively prevent any unwanted staining or irritation. Gently rub the petroleum jelly onto the areas, making sure to cover every exposed surface. Ensure that the layer is evenly spread and not too thick to allow the lightener to work effectively. By following this instruction, you can safeguard your skin from any potential harm caused by the lightener spray.


Apply the spray
Hold the spray bottle about six inches away from your hair. Position it in a way that allows for an even application. For example, angle the bottle slightly downwards to ensure the lightener is distributed evenly. Apply the lightener from roots to ends, moving the bottle in a sweeping motion across each section of your hair. Make sure to cover all areas thoroughly, including the back of your head and the underneath layers. Avoid oversaturation by applying a light, even mist rather than spraying too much product in one area. This will help prevent uneven lightening and ensure a more consistent result.


Leave the lightener on
Check the instructions on the lightener spray bottle for the recommended processing time. This information is crucial as it will guide you on how long to leave the product on your hair. For example, if the instructions state to leave the lightener on for 30 minutes, then set a timer and ensure that you stick to the specified time. Leaving it on for the recommended amount of time will allow the lightening agents to work effectively and give you the desired results.
Leaving the lightener on for too long can have adverse effects on your hair. It is essential to follow the instructions and avoid exceeding the recommended processing time. For instance, if you leave the lightener on for longer than instructed, it may cause your hair to become overly dry, brittle, or even result in breakage. To prevent any damage, it is crucial to be mindful of the processing time and not exceed it. Remember, following the instructions and leaving the lightener on for the specified amount of time is the key to achieving the desired level of lightening while keeping your hair healthy.
Rinse and condition
After the processing time is up, rinse your hair thoroughly with lukewarm water. This step is crucial to remove any remaining product and ensure a clean foundation for your hair. To rinse effectively, stand under the showerhead or use a handheld spray attachment and allow the water to flow over your hair from root to tip. Gently massage your scalp with your fingertips to ensure all areas are rinsed properly. It’s important to use lukewarm water as hot water can strip away natural oils and cold water may not effectively remove all the product.
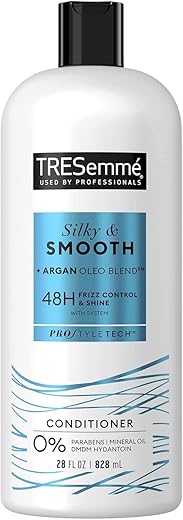
Once your hair is thoroughly rinsed, it’s time to apply a deep conditioner to nourish and hydrate your locks. Deep conditioning helps to restore moisture and repair any damage caused by the coloring process. Start by squeezing out excess water from your hair, then take a generous amount of conditioner and distribute it evenly throughout your hair. Focus on the mid-lengths and ends, as these areas tend to be the most damaged. You can use a wide-toothed comb or your fingers to comb through your hair and ensure the conditioner is evenly distributed. Leave the conditioner on for a few minutes to allow it to penetrate deeply into the hair shaft and provide maximum nourishment. During this time, you can also use a shower cap or wrap your hair in a towel to create a warm environment that helps the conditioner work its magic. Finally, rinse out the conditioner thoroughly with lukewarm water until the water runs clear. Your hair will feel soft, smooth, and revitalized, ready to showcase your beautiful color.
For example, imagine you have just finished dyeing your hair and the recommended processing time is 30 minutes. After the 30 minutes are up, step into the shower and turn on the water to lukewarm. Make sure the water is not too hot or too cold, as this can affect the effectiveness of the rinse. Stand under the water and let it flow over your hair, ensuring that every strand gets rinsed. While rinsing, use your fingertips to gently massage your scalp to ensure all the color and product is thoroughly removed. Once you are confident that your hair is clean, squeeze out the excess water and reach for your deep conditioner. Take a palm-sized amount of conditioner and apply it evenly throughout your hair, focusing on the ends. You can use your fingers to comb through your hair and distribute the conditioner evenly. Leave the conditioner on for about 5 minutes and take this time to relax or continue with your shower routine. After the time is up, rinse out the conditioner with lukewarm water, making sure there are no traces of product left behind. Enjoy the silky smoothness and nourishment that the deep conditioner provides, and revel in your vibrant, freshly colored hair.
Achieving Balanced Hair Color
In conclusion, achieving even results from hair lightener spray application is possible with careful preparation and technique. Taking the time to gather supplies, prepare and protect your hair and skin, and applying the spray evenly will help you achieve a more professional-looking result. Remember to follow the recommended time and rinse and condition your hair afterwards for optimal results. With these steps, you can fix unevenness and achieve the desired outcome.
Necessary supplies


![Comfy Package [100 Count] Disposable Poly Plastic Gloves for Cooking, Food Prep and Food Service | Latex & Powder Free - One Size Fits Most](https://m.media-amazon.com/images/I/41OWYZ9R9yL.jpg)

Evening Out Color
Step-by-Step Guide to Using Hair Lightener Spray
- Start by thoroughly washing and drying your hair before applying the hair lightener spray
- Shake the hair lightener spray bottle well to ensure that the product is properly mixed
- Hold the hair lightener spray bottle approximately 6-8 inches away from your hair, and spray it evenly over the sections of hair you want to lighten
- Gently comb or brush your hair after applying the hair lightener spray to distribute the product evenly
- Allow the hair lightener spray to sit on your hair for the recommended amount of time mentioned on the product instructions. This duration may vary depending on the brand and desired level of lightening
- Rinse your hair thoroughly with lukewarm water after the recommended processing time has passed
- Apply a deep conditioner or hair mask to nourish and moisturize your hair after lightening
- Style your hair as desired once it is completely dry
- Note: It’s essential to carefully read and follow the instructions provided by the specific hair lightener spray brand you are using to ensure the best results and avoid any potential damage to your hair

Hello! I’m Ava Wilson, a passionate advocate for healthy, beautiful hair. With years of experience in the hairstyling industry and a deep-rooted love for all things hair, I’ve made it my mission to share valuable insights and expert tips on nurturing and styling locks.


