How to Use Flat Iron for GK Keratin Treatment
The step-by-step guide “How to Use Flat Iron for GK Keratin Treatment” provides instructions for achieving salon-quality results at home using a flat iron. GK Keratin Treatment is a professional hair treatment that smooths and straightens hair, reduces frizz, and adds shine. By following the guide’s instructions, users can achieve the desired results with ease.
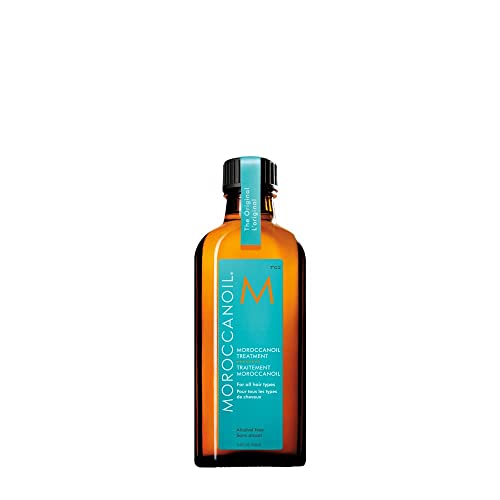
Top-selling hair smoothing treatment


Prepare your hair
Start by washing your hair with a clarifying shampoo to remove any product buildup. This step is crucial to ensure that your hair is clean and ready for styling. Take a sufficient amount of clarifying shampoo in your hand and gently massage it into your scalp and hair, making sure to cover all areas. Rinse thoroughly with warm water until the shampoo is completely washed out.
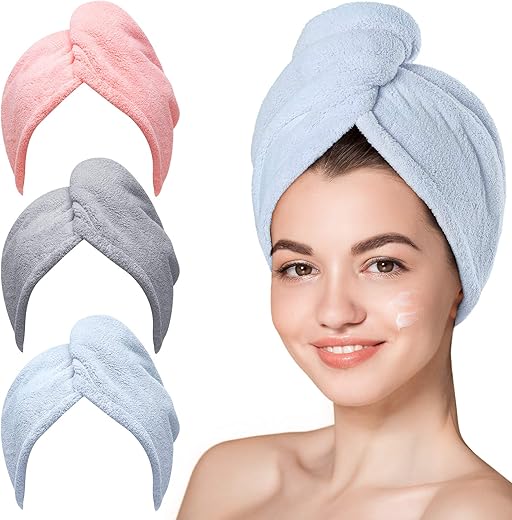
After washing, towel dry your hair until it is damp but not dripping wet. Use a soft, absorbent towel and gently squeeze out the excess moisture. Avoid rubbing your hair vigorously with the towel as this can cause damage and frizz. Instead, pat your hair dry in a gentle motion, starting from the roots to the ends. This will help to remove the excess water without roughening up the hair cuticles.
For example, if you have long hair, gather it up in the towel and squeeze gently to remove the water. If your hair is short, use the towel to gently blot the hair, ensuring you cover all areas. Remember, the goal is to remove excess water while still leaving your hair slightly damp. This will make it easier to style and manage without weighing it down.


Apply the GK Keratin Treatment
- Put on gloves: Before starting the application process, wear gloves to protect your hands from coming into direct contact with the GK Keratin Treatment.
- Distribute evenly: Start by applying the GK Keratin Treatment to your hair, ensuring that it is distributed evenly from the roots to the ends. This will help to achieve consistent results throughout your hair.
- Comb through: After applying the treatment, take a wide-toothed comb and gently comb through your hair. This step is essential to ensure that every strand is coated with the GK Keratin Treatment, maximizing its effectiveness.
By following these simple steps, you can effectively apply the GK Keratin Treatment to your hair, ensuring that each strand is coated evenly from roots to ends. Remember to wear gloves and comb through your hair to achieve the best results.


Blow dry your hair
- Start by towel-drying your hair to remove excess moisture. Gently pat your hair with a towel until it feels damp, but not dripping wet.
- Plug in your blow dryer and set it to medium heat. High heat can damage your hair, so it’s best to avoid using it unless absolutely necessary.
- Divide your hair into sections. Start by separating the top section of your hair from the bottom. Use hair clips or hair ties to keep each section separate and manageable.
- Begin blow drying the bottom section of your hair. Hold the blow dryer about 6 inches away from your scalp and point the nozzle downward to prevent frizz. Use a round brush to comb through the section of hair as you blow dry, starting from the roots and working your way down to the ends. Move the brush and the blow dryer simultaneously, gently pulling the hair taut to straighten it.
- Repeat this process for each section of your hair, working your way up from the bottom to the top. Make sure to blow dry each section until it is completely dry before moving on to the next one.
- If you want to add volume to your hair, lift the roots with the round brush as you blow dry. Aim the blow dryer at the roots and brush upwards to create lift and body.
- Once your hair is completely dry, you can use a cool shot button on your blow dryer to set the style and add shine. Cool air helps to seal the hair cuticles, resulting in smoother and shinier hair.
Remember to always keep the blow dryer moving and avoid focusing the heat on one spot for too long, as this can cause damage. Finally, finish off with a spritz of hairspray or any desired styling products to keep your hairstyle in place for longer.


Divide your hair into sections
To divide your hair into small sections, start by gathering all your hair at the crown of your head. Use a hair clip or hair tie to secure this section, keeping it out of the way. Next, take a small section of hair from the left side and clip or tie it to keep it separate. Repeat this step on the right side as well. Now, you should have three sections: the top section and two side sections.
Continue dividing your hair by taking a small section from one of the side sections and clipping or tying it away. Repeat on the other side. Keep doing this until all your hair is divided into small sections. The number of sections will vary depending on the thickness of your hair. By dividing your hair into sections, you can easily work through each section, ensuring that you apply products or style your hair evenly and thoroughly.


Set your flat iron to the appropriate temperature
- Retrieve the instructions that came with your GK Keratin Treatment.
- Look for the section that provides information on the recommended temperature for flat ironing.
- Take note of the specific temperature mentioned in the instructions.
Set your flat iron to this temperature and wait for it to heat up
- Locate the temperature control dial or buttons on your flat iron.
- Adjust the temperature to match the recommended temperature mentioned in the GK Keratin Treatment instructions.
- Ensure that the flat iron is plugged in and turned on.
- Give the flat iron a few minutes to heat up to the desired temperature.
- Check the indicator light on the flat iron to confirm that it has reached the correct temperature.
- Once the flat iron has heated up to the recommended temperature, it is ready for use.


Flat iron each section
To achieve sleek and straight hair, follow these simple steps to flat iron each section with ease. Begin by starting with the bottom sections of your hair and gradually work your way up. Take one section at a time, ensuring you have a manageable amount of hair to work with.
- Preparation: Before you begin, ensure that your hair is clean, dry, and properly detangled. Applying a heat protectant spray is also recommended to minimize damage from the heat of the flat iron.
- Sectioning: Divide your hair into manageable sections using clips or hair ties. Starting with the bottom sections allows you to have better control and visibility as you flat iron each section.
- Temperature setting: Adjust the temperature of your flat iron according to your hair type. Fine or damaged hair usually requires a lower heat setting, while thicker or coarser hair may need higher heat. Refer to the flat iron’s instructions for the optimal temperature range.
- Begin the process: Release one section of hair and hold it firmly at the root. Position the flat iron as close to the root as possible without touching your scalp.
- Smooth gliding motion: Slowly glide the flat iron down the length of the hair section, moving from root to tip. Ensure that the plates of the flat iron are smoothly clamping the hair without pulling or tugging. This helps to distribute heat evenly and minimize any potential damage.
- Repeat if necessary: If the section of hair is not completely straightened in one pass, you can repeat the process by running the flat iron through the same section again. However, it’s essential not to overdo it, as excessive heat can cause damage to your hair.
- Continue section by section: Release the next section of hair and repeat the same process of running the flat iron through it. Work your way up from the bottom sections until you reach the top of your head, ensuring that each section is straightened thoroughly.
Remember, patience and a steady hand are key when flat ironing your hair. By following these steps and taking your time with each section, you’ll achieve a sleek, straight look with minimal damage.
Finish and style
After flat ironing each section of your hair, it is important to let it cool down for a few minutes. This step allows the heat to set and ensures that your hair retains its newly straightened shape. Once cooled, it’s time to style your hair as desired. You can choose to leave it sleek and straight, create curls or waves with a curling iron, or even experiment with different updo styles.
For example, if you prefer a sleek and straight look, run a small amount of smoothing serum or oil through your hair to add shine and tame any flyaways. Alternatively, if you want to add some curls, divide your hair into smaller sections and wrap them around a curling iron or use hot rollers for a more natural-looking curl. Finally, if you’re feeling adventurous, try braiding your hair overnight for soft waves or create an elegant updo by twisting and pinning sections of your hair.
Remember, to maintain the best results from your GK Keratin Treatment, avoid washing or getting your hair wet for at least 48 hours. This waiting period allows the keratin treatment to fully penetrate your hair, ensuring long-lasting smoothness and frizz control.
Achieve Silky, Smooth Hair
In conclusion, mastering the use of a flat iron for GK Keratin Treatment will enable you to achieve salon-quality results with smooth, straight, and frizz-free hair. By following the steps outlined in this post, you can confidently style your hair and enjoy the benefits of this treatment. Get ready to rock flawless, gorgeous hair!
Tools and Materials


Styling Secrets

Hello! I’m Ava Wilson, a passionate advocate for healthy, beautiful hair. With years of experience in the hairstyling industry and a deep-rooted love for all things hair, I’ve made it my mission to share valuable insights and expert tips on nurturing and styling locks.


