Revive Your Hair in a Weekend: Deep Conditioning Made Simple
This quick, practical guide walks you through six EASY steps to deep-condition at home. If your hair feels dry, damaged, or dull, you’ll restore moisture, boost shine, and protect strands — no salon time or fancy tools required right away.
What You’ll Need
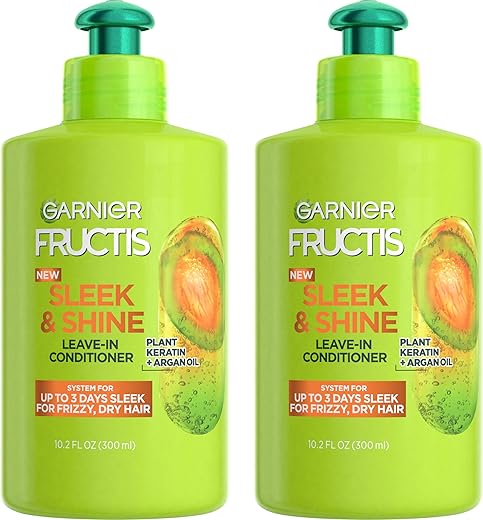
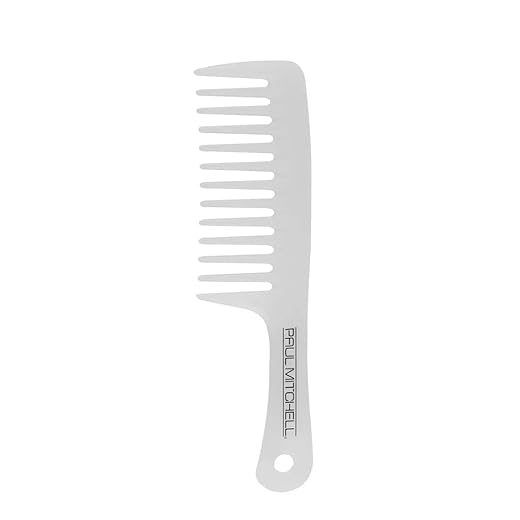
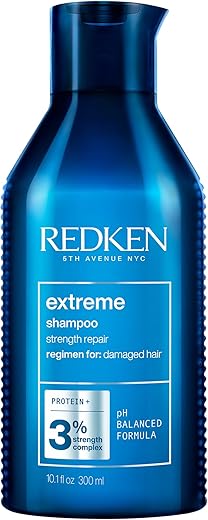
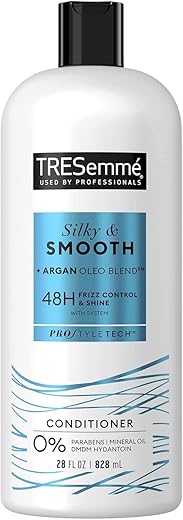
Deep conditioner or mask; gentle shampoo; wide-tooth comb; shower cap/plastic wrap; towel; heat source (hair dryer or steam); optional boosters — coconut oil, honey, avocado; time and patience.

Korean DIY Rice Hair Mask for Deep Conditioning
Step 1 — Assess and Prep: Know Your Hair’s Actual Needs
Not all dry hair is the same — do this quick test before you slather anything on.Assess porosity and current condition: look for breakage, split ends, frizz, and elasticity. Do a quick porosity test — place a clean strand in a glass of water: if it sinks fast, your hair is high-porosity and needs sealing treatments and heavier oils; if it floats, use lighter moisturizing products; if it sinks slowly, you’re medium-porosity.
Check the scalp for oiliness or dryness; oily roots with dry ends mean target the mid-lengths and ends, not the roots.
Gather tools and detangle gently with a wide-tooth comb to avoid more damage.
Section hair into manageable parts so the product distributes evenly and clothes stay protected.
Step 2 — Cleanse Gently: Remove Buildup Without Stripping Moisture
Why a soft cleanse beats a harsh scrub — preserve natural oils while prepping for deep conditioning.Use a gentle, sulfate-free shampoo to remove oil and product buildup that blocks conditioners from penetrating. Focus shampoo on the scalp and roots — where oils accumulate — and let the suds rinse through the lengths; avoid vigorously scrubbing the ends. Shampoo twice if you have heavy buildup from daily styling or workouts, or use a clarifying shampoo once.
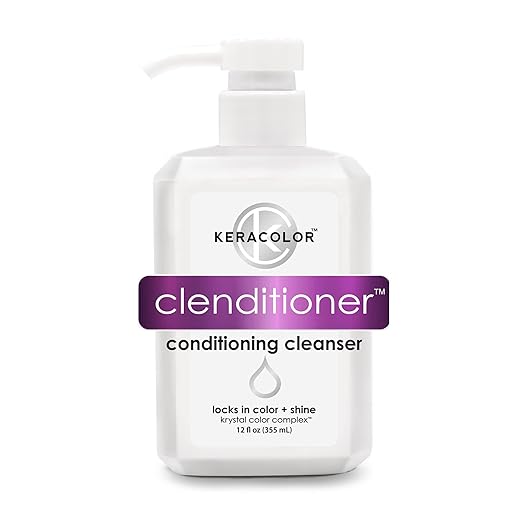
Consider a co-wash (cleansing conditioner) if your hair is very dry or chemically treated to avoid added dryness. Rinse with lukewarm water — hot water opens the cuticle but can over-dry; lukewarm strikes the balance. Gently squeeze out excess water with a towel; hair should be damp, not dripping.
Step 3 — Apply the Deep Conditioner: Technique Matters
A little goes a long way — and placement is everything. Want salon-level results at home?Choose a deep conditioner suited to your hair: protein-rich for weak, stretchy strands; moisture-rich for dry, coarse hair. Divide hair into four sections and work one section at a time.
Apply the product starting at the mid-lengths and focusing on the ends, where damage concentrates. Avoid the scalp unless your roots are dry; for very damaged hair, apply a small amount to roots and massage gently to stimulate circulation.
Use fingers or a wide-tooth comb to distribute the treatment evenly so every strand is coated. Watch out for protein overload — if your hair feels stiff, alternate moisture and protein treatments.
Leave the mask on for the product’s recommended time (typically 10–30 minutes) or follow an at-home steam/heat protocol to boost penetration.

Step 4 — Add Heat for Better Penetration: Cheap Spa Upgrade
Want deeper repair? Heat accelerates absorption — you don’t need an expensive hood dryer.Cover your hair with a shower cap or plastic wrap to trap heat and prevent evaporation. Wrap a warm towel around the cap, or use a low-heat blow dryer for 5–10 minutes, moving it constantly and keeping it several inches away. Sit in a steamy bathroom (run a hot shower and close the door) to gently open the cuticle and help ingredients reach deeper.
Monitor temperature carefully — excessive heat damages hair. Finish the timed treatment without removing the cap until ready to rinse to keep the product active.

Step 5 — Rinse Smartly and Finish with Cold Water
Rinsing is the secret finish — seal what you just gave back to your hair.Rinse out the deep conditioner thoroughly using cool to lukewarm water. Start with lukewarm to remove product comfortably, then switch to a brief cool-water rinse to help close the cuticle and lock in shine.
Avoid vigorous rubbing; instead, gently squeeze and smooth sections of hair to distribute any remaining product evenly and prevent frizz.
Gently detangle with a wide-tooth comb, starting at the ends and working up to the roots to minimize breakage.
Step 6 — Dry and Maintain: Seal the Gains and Build a Routine
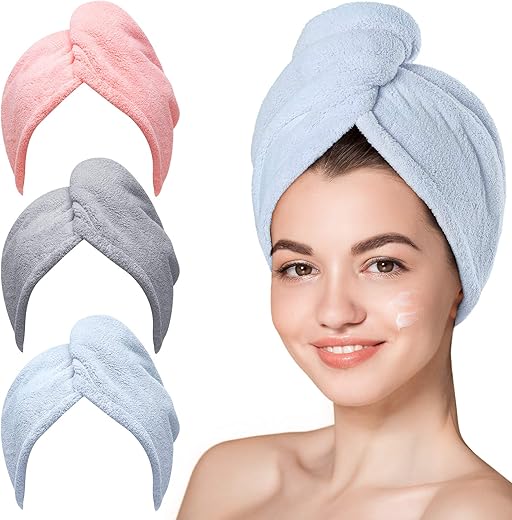
This isn’t a one-off miracle — here’s how to keep hair nourished until your next treatment.Pat hair dry with a microfiber towel or a cotton T‑shirt to reduce friction and frizz. Squeeze gently—don’t rub—to keep cuticles smooth.
Apply a small amount of natural oil or serum to the ends to seal moisture (e.g., pea‑size for short/fine hair, dime–quarter for medium lengths). Use a heat protectant before any blow‑drying or hot tools.
Air‑dry when possible. If you must blow dry, use the lowest effective heat and a nozzle for focused airflow.

You’re All Set — Healthy Hair, One Step at a Time
With these six steps you can recreate a salon-style deep-conditioning treatment at home; consistency and the right products for your hair type deliver noticeable repair and lasting shine—will you commit to a simple routine that transforms your hair every week?

Hello! I’m Ava Wilson, a passionate advocate for healthy, beautiful hair. With years of experience in the hairstyling industry and a deep-rooted love for all things hair, I’ve made it my mission to share valuable insights and expert tips on nurturing and styling locks.

Good guide. One detail I’d add: when you’re rinsing smartly (Step 5), tilt your head forward and use a gentle flow to focus rinsing on the scalp first, then let water run down — helps avoid product buildup at the roots. Also, if you use a leave-in later, a tiny bit goes a long way.
Nice practical tip, David — rinsing pattern can make a difference. Thanks for sharing the leave-in note too; many people over-apply.
That forward tilt trick changed my life. No more greasy-looking roots after deep conditioning!
Okay real talk: I did the whole thing from prep to cold rinse and my hair actually looked BEYOND better the next day. The routine part (Step 6) is key — I stopped towel-rubbing like a savage and started blotting and air-drying.
Also, faces in products reviews always say “use once a week” but who really has time? I do it every 10 days and it’s perfect for me. YMMV. 😅
Tried this on Saturday and wow — actually works. I used a coconut-based deep conditioner and followed the heat step with a hot towel + shower cap for 20 mins. Hair felt soooo much softer.
Tips: section 1 helped me realize my ends were way more damaged than my roots, so I focused product there. Will do this every other weekend now. 😊
Which coconut product did you use? I’ve tried a few and some weigh my hair down.
If your hair gets weighed down, try applying mostly to mid-lengths and ends and skip the roots — and rinse thoroughly but not aggressively (see Step 5). Lighter formulas or ones labeled for fine hair can help too.
So glad it worked for you, Emily! Focusing on the ends is a great move — they usually need the most love. If you want, share the product name and how long you left it on; others will appreciate the specifics.
Not convinced about the cold water rinse. I tried it once and felt like I didn’t rinse enough product out. Does cold water actually make a noticeable difference?
Agree with admin. I do a warm rinse to get the conditioner out, then a quick cool splash at the end. Gives my hair a nicer finish without feeling like I left stuff behind.
Cold water helps close the hair cuticle, which can make hair feel smoother and reflect more shine. You don’t need ice-cold—just a cooler rinse compared to the warm wash water. It’s more about the final rinse than full-time cold showers 😅
Loved the step-by-step! One tiny thing — in Step 2 you mentioned clarifying shampoos. I’m confused about frequency: how often should I clarify vs. regular shampoo? I’m scared of stripping my color :/
Clarifying shampoos are for removing heavy buildup; for colored hair, use them sparingly. Once every 2–4 weeks is typical, depending on product buildup and styling product use. If you color-treat, pick a color-safe clarifying formula or dilute it and watch closely.
I did the ‘cheap spa upgrade’ with a steamy towel and felt like a million bucks — until my cat decided to sit on my head while I had the cap on. 10/10 would recommend the heat step, 0/10 if you have judgemental pets. 😂
Also, why does every deep treatment feel like a mini-ritual? I swear the 20 minutes waiting time is 90% of the experience.
Pets can be the ultimate spa saboteurs 😂 Glad the heat step worked! And yes — the ritual part helps mentally commit to routine, which actually changes outcomes more than people expect.
For real though, the 20 mins is the sweet spot for me. Any longer and I start overthinking life decisions 😂
I set a timer and make a cup of tea — turns the 20 minutes into a legit ‘me time’ block.
Bonus tip: if you’re multitasking, try a short walk or quick stretch routine while you wait. Keeps the mood light and you won’t forget the timer.
Hah been there. Keep a towel on the couch to make a little cat-free spa zone. Or bribe them with treats elsewhere.
Short and sweet — thanks for this. The routine is simple and realistic, not one of those 12-step hair cults. Going to try Step 4 tonight with my old hairdryer and a shower cap!
Love that — realistic is the goal. A regular hairdryer + low heat under a cap works well if you don’t have a heat cap. Let us know how it goes!
Quick q: for fine, thin hair — should I use the same amount of deep conditioner? I’m worried about looking flat/super-greasy after.
Also, any recs for how long to leave it on? The guide says technique matters but I didn’t see a strict timer for different hair types.
Good point, Aaron. If you’re unsure whether your hair needs protein or moisture, Section 1’s assessment (porosity and elasticity checks) can help decide.
Great question. For fine hair, use less product and focus on mid-lengths to ends. Start with a small amount (pea to dime-sized depending on length) and add if needed. Leave-on time: 10–15 minutes for fine/low-porosity hair, 20–30 minutes for medium, and up to 45 for very dry/high-porosity hair.
Also consider using a protein-free deep conditioner if your hair already feels stiff; too much protein can make fine hair crunchy.
I have fine hair and I mix my deep conditioner with a little water in my hands before applying — spreads easier and doesn’t weigh me down.