
Get Glossy, Natural-Looking Wand Curls—Fast
Learn six simple steps to create glossy, natural-looking wand curls fast. I’ll gently guide you through prep, heat choice, wrapping, sectioning, cooling, and finishing so your curls last and feel effortless—perfect for beginners who want reliable, salon-style results quickly.
What You'll Need

Curling Wand for Beginners: The Ultimate Step-by-Step Guide
Prep Hair for Lasting Shape
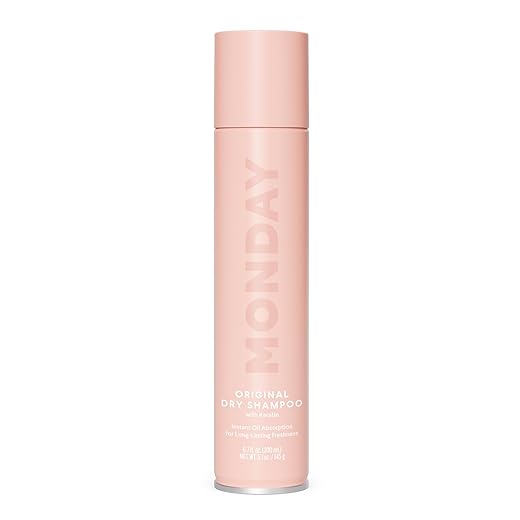
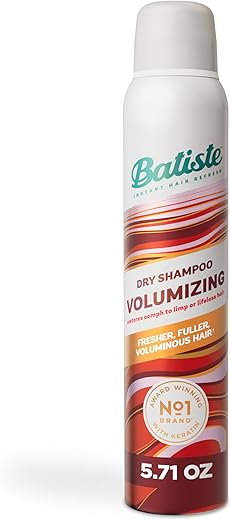
Want curls that survive humidity and sweat? Start with the right canvas.Start with second-day hair or fully dry, freshly washed hair. Too-slippery, freshly cleansed hair can make curls drop—use a light dry shampoo if you must style day one.
Good prep reduces frizz and gives curls structure from the first wrap.
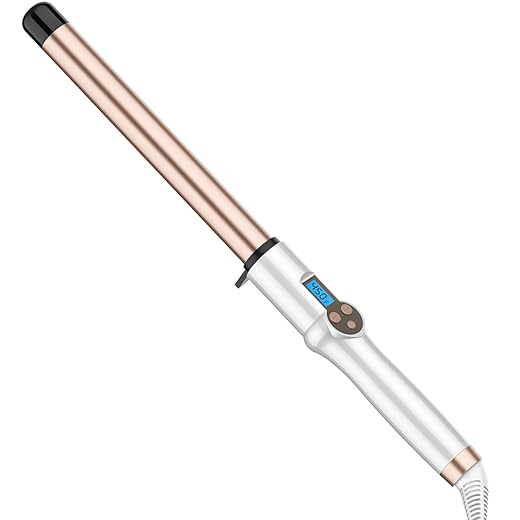
Choose the Right Wand and Heat Setting
Are you using the secret tool pros won’t reveal? Barrel size and heat matter more than you think.Pick a barrel size for the look you want: 25mm for tighter, defined curls; 32mm for loose, bouncy waves. For a soft, natural root-to-tip shape, choose a clampless wand — avoid clamps that can create uniform crimps.
Match heat to your hair type. Use these starting ranges and adjust in small increments:
Choose a ceramic or tourmaline barrel for smoother, shinier results. Test on a small hidden strand first: time how long the curl holds and lower the temperature if you see damage or excess frizz.
Master the Wrapping Technique
One simple twist separates amateur from pro—ready to upgrade your wrap?Hold the wand vertically and wrap each section away from your face to create modern, face‑framing curls. Wrap like you’re winding ribbon—smooth, even turns—for a polished finish. For example, wrap the front pieces away from your cheekbones to open your face.
Start wrapping about 1 inch from the roots to build lift at the scalp; leave a small strip of hair unwrapped at the root for a more relaxed, lived‑in look. Keep tension consistent—pull snugly enough to grip the strand, but avoid yanking tight to prevent kinks.
Leave the last ½–1 inch of the hair out of the wrap for softer ends.

Speed Up with Smart Sectioning
Smaller sections = cleaner curls; bigger sections = beachy waves—choose wisely!Divide hair into three horizontal layers—bottom, middle, and top—and clip each layer up so you work methodically from the bottom up.
Take consistent subsection widths to speed curling and keep results even. For example, use smaller slices at the crown for springy hold and slightly wider pieces at the nape for faster work.
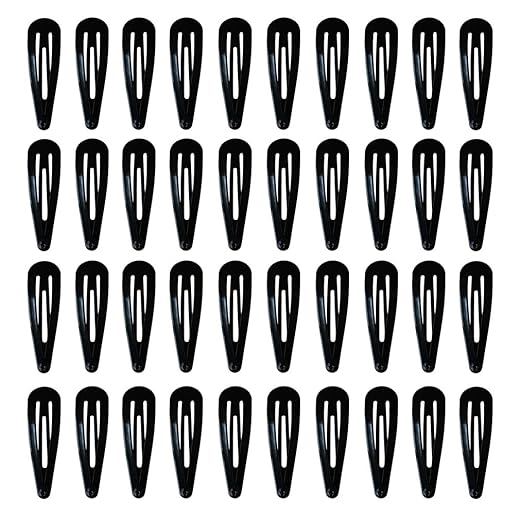
Divide hair into three horizontal layers—bottom, middle, and top—and clip each layer up so you work methodically from the bottom up. Within each layer, take consistent subsection widths (about 1 inch for defined curls, 1.5–2 inches for looser waves). Consistent sections produce even curl size and reduce rework. Use a tail comb to make clean parts and a clip to keep finished curls out of the way so they cool without being disturbed.
Cool and Set for Maximum Hold
Don't skip cooling—it's the secret to curls that last past brunch.Hold each curl in your palm until it cools to lock the shape. For extra longevity, immediately pin the curl against your head with a clip — duckbill clips work great — and repeat as you go. I do this when I have time; five minutes of pinning makes curls last all day.
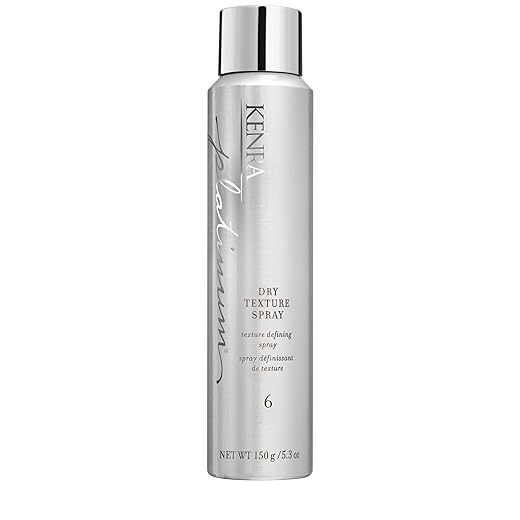
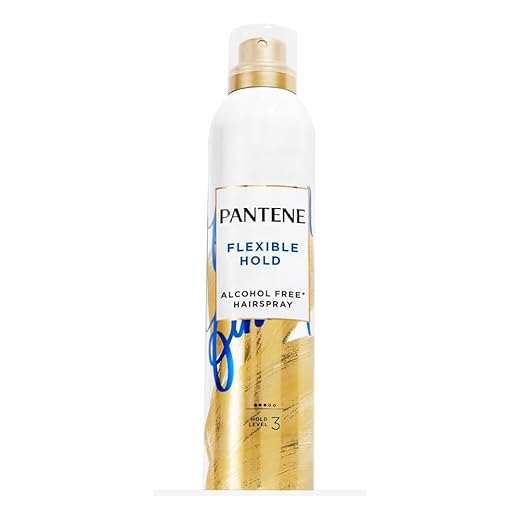
Let pins stay until the hair is fully cool (about 5–10 minutes). Remove pins gently; never brush while warm. Finish with a light mist of flexible-hold hairspray from arm’s length, then smooth a pea-size drop of serum over ends to tame frizz and boost shine.
Finish Like a Pro and Fix Common Mistakes
Bad part? Frizz? Here's how to fake a flawless look in seconds.Loosen curls by finger-tousling or very gently brushing with a boar-bristle brush for soft waves—don’t overwork them. Tease at the roots only if curls look tight, or separate the base with your fingers for a softer start. Combat frizz with a tiny amount of oil on the ends and a lightweight anti-humidity spray.
Try these quick fixes:
Go Create Your Perfect Curls
Practice these six steps a few times to build speed and confidence; start simple, adjust barrel size and heat, your wand curls will look polished and effortless. Give it a try and share your results!

Hello! I’m Ava Wilson, a passionate advocate for healthy, beautiful hair. With years of experience in the hairstyling industry and a deep-rooted love for all things hair, I’ve made it my mission to share valuable insights and expert tips on nurturing and styling locks.


Tried this guide yesterday — wow. The section on choosing the right wand + heat setting actually made a difference for my fine hair.
I used a 1-inch wand at 300°F and my curls lasted all evening (even after dancing lol).
Big tip: don’t skip the heat protectant!
Thanks for the clear steps 👍
Ooh congrats! I struggle with fine hair and frizz. Which wand brand did you use?
Nice! For anyone curious, a ceramic barrel helps distribute heat evenly — less hot spots = better curls.
So happy it worked for you, Alex! 300°F is a great sweet spot for fine hair — low enough to avoid damage but high enough for hold. Which heat protectant did you use?
Constructive nitpick: the guide could mention how to handle baby hairs and very short front layers. Mine always stick out awkwardly.
Otherwise super helpful guide!
I smooth mine with a toothbrush + hairspray (weird but works). Sounds crazy but it tames flyaways without heaviness.
Sometimes I just embrace the messy look — works for casual days 😂
Definitely add a short section on baby hairs. It’s the one thing people always ask me about in real life.
Great point, Diego. Short layers/baby hairs often need a tiny barrel or a flat iron touch-up and a dab of styling cream or hairspray. We’ll add a note.
Or use a small silicone headband while curling the rest, then remove and style the baby hairs separately.
Me: tries to be talented
Also me: spends 30 mins curling, ruins it by brushing like an animal
Lesson learned: be gentle. Also—invest in a clipless wand if you want that natural spiral. Saved me.
Clipless wands do give a sleeker, more natural spiral. And yep — gentle fingers or a wide-tooth comb only. No animal brushing 😂
If you brush them out intentionally, do it after the cooling period for looser waves. Timing is everything.
Anyone else accidentally hold the wand on one place too long and fry a section? Asking for a friend. 😅
Also consider lowering the heat a bit if curls fall apart quickly — too-hot can make them drop faster on some hair types.
Neutral take: it’s a solid guide, but for absolute beginners there could be more pics for the wrapping technique.
Text is good, but visuals would speed learning.
Also a quick pointer: practice on dry hair first to get the motion down, then try with heat. No judgment if you bungle it 😂
Agree — gifs or a slow-mo video would help a lot. Some angles are hard to describe with words.
Thanks for the feedback, Oliver — noted. We’ll consider adding step-by-step photos or short clips for the wrapping section in the next update.
This is a 5-star starter guide. Two tiny laughs/complaints:
1) The part about “finish like a pro” made me feel judged for using dry shampoo as a cheat. 😂
2) Could use a note about how humidity wrecks curls and what to do on rainy days.
Still, the steps are clear and easy to follow.
On humid days I switch to a stronger, flexible-hold spray and avoid too much texture spray which attracts moisture.
Love the honesty, Hannah! Dry shampoo is a perfectly valid cheat — it’s basically modern sorcery. We’ll add humidity-proofing tips (anti-frizz serums, stronger holds).
Question for the group: if you’re going for big, loose waves, do you wrap away from the face exclusively or alternate? I get mixed advice everywhere.
Alternate + brush out with fingers = effortless waves. Too many same-direction curls look model-y, not natural.
I do alternate and then run a 1-finger through the hair to separate. Works every time.
For loose, beachy waves, alternate directions for a more natural look — but wrap away from the face on the topmost sections to keep framing consistent.
Short but useful: the sectioning tips speed up the whole process. Doing 4 big sections instead of 8 tiny ones saved me 10 mins.
Nice — I do 3 sections (top, middle, bottom) and then subdivide the top. Saves time without sacrificing uniformity.
Great strategy — larger base sections with smaller subsections is the trick for balance between speed and control.
Loved the troubleshooting bit in step 6. I kept getting that “wonky curl” at the nape and the fix (wrap in opposite direction and clamp briefly) actually worked.
Couple of things I noticed:
– If your hair is layered, wrap smaller chunks near the face.
– Don’t over-spray before you finish; texture spray after gives a nicer, more natural finish.
Thanks for the tips!!
For thick hair I sometimes need to reheat a curl for 1-2s to blend it in. Not ideal but life.
Wait 10–15 mins and then gently finger-comb or use a wide-tooth comb for softer waves. Brushing immediately can loosen them too much.
OMG the wonky nape curl haunted me for months. Wrapping opposite helped but honestly pinning while cooling was the real savior.
Question: do you guys brush through curls right away or wait? I always wait at least 15 mins.
Great additions, Priya. Layered hair absolutely benefits from smaller pieces near the face. And yes — timing of product matters for the final look.
Funny story: I tried to speed through the ‘cool and set’ step and ended up with half my curls collapsed. Learned my lesson 😂
Pro tip from me: set a timer for 5 minutes and go make coffee. Hands off the hair!
I use clips that match my hair color — looks less weird when you forget to remove them immediately 🤦♀️
Timer is genius. I used to be impatient too. Now I pin and sip my tea while they set.
Haha — that’s the perfect ritual. Coffee + cooling time = pro-level commitment. Thanks for the laugh and tip!
Also, if you’re styling mornings, do it in the evening and sleep on loose braids for longevity.
Okay real talk: the wrapping technique section is my new bible. I always used to clamp and the results were meh.
I practiced the wrap-away-from-face method for 10 mins and now it actually looks like I spent time on it.
Also the ‘cool and set’ step is underrated — let it chill before you touch it!!
Wrapping away from face changed my whole look — it frames my face better. No more weird inward curls!
Exactly — letting curls cool is what locks the shape. Glad the tutorial helped. Do you pin them up while cooling or just let them hang?
Same here. Also, wrap smaller sections for tighter, longer-lasting curls.
I pin small sections and it makes a HUGE difference for me. Feels extra high-maintenance but worth it 😂
I have super frizzy hair and low porosity — the guide’s suggestion to use lower heat and longer hold time helped. Noticed less puffiness.
Still curious about products: any recs for lightweight holds that don’t crunch?
Look for flexible-hold hairsprays and light texturizing creams containing humectants. Apply a tiny amount plus a flexible spray — avoids crunch.
Batiste dry shampoo + a touch of sea salt spray works for me — volume + texture without stiffness.