Why Straighten Smart: A Safer Path to Sleeker Hair
Nearly 60% of people who try at-home hair straightening report unexpected damage or unsatisfactory results. If you want sleeker hair without sacrificing health, this guide helps you STRAIGHTEN SMART. It focuses on realistic outcomes—smooth, manageable hair achieved safely—not instant perfection. You’ll learn to choose the right kit, follow correct steps, and avoid common hazards.
Across six clear sections you’ll find practical advice: types of kits, matching selection to hair type and history, reading ingredient lists and safety claims, step-by-step application, heat management and protective aftercare, plus troubleshooting and red flags. Read this before you buy or apply a kit so you can protect your hair, make informed choices, and know when to seek professional help for safer, longer-lasting results everyday.


Are Teeth Straightening Kits Safe? | A Current Affair
Understanding At-Home Straightening Kits: Types and How They Work
Temporary heat-styling tools (flat irons and heated brushes)
These use high temperatures to reshape hair by breaking and reforming weak hydrogen bonds in the hair shaft — results last until the next wash or heavy humidity exposure. Common consumer models: ghd Platinum+ or BaBylissPRO Nano Titanium flat irons for fine-to-medium hair, and the Revlon One-Step Hair Dryer & Volumizer or heated smoothing brushes for quicker, less precise smoothing.
Semi-permanent keratin and smoothing treatment kits
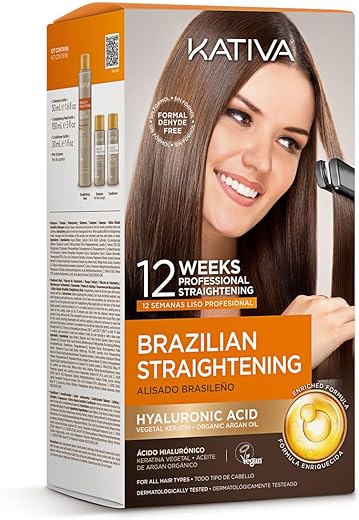
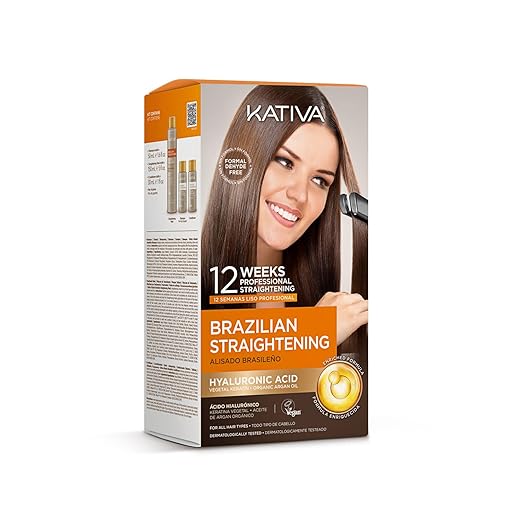
At-home keratin kits add a protein-rich coating or mildly alter bonds to reduce frizz and relax curl. Expect smoother, lower-frizz hair for 4–12 weeks depending on formula, follow-up care, and washing frequency. These often require heat activation (flat iron or blow-dry) to seal the treatment.
Chemical relaxer-style home options
These change stronger disulfide bonds (more permanent alteration) using alkaline chemistry; new growth returns with original texture. Home relaxers can deliver the straightest, most permanent change but carry higher risk of breakage or scalp injury if misapplied.
Pick the level of commitment you want: instant-but-temporary control with heat, weeks of tamed hair with keratin, or longer-term change with chemical relaxers. In the next section we’ll walk through how to match these options to your hair’s type, condition, and history so you pick the safest, most effective route.
Assess Your Hair: Matching Kit Choice to Hair Type and History
Start with the basics: texture and curl pattern
Texture (fine → medium → coarse) and curl pattern (wavy → curly → coily) determine how much heat or chemistry your hair needs. Fine, fragile strands respond to lower temperatures and gentler formulas; coarse, tightly coiled hair is more resistant and often needs stronger smoothing or higher heat — but that raises risk, so choose tools and formulas designed for those needs. For example, a fixed 365°F (185°C) plate like the ghd Platinum+ can be great for medium hair, while a BaBylissPRO iron with higher temp control suits resistant textures — used with caution.
Porosity and elasticity: the hair’s condition signals
High-porosity hair soaks up products and loses moisture fast; it’s prone to over-processing and needs reparative, hydrating formulations. Low-porosity hair resists moisture and may require a clarifying prep or slightly higher heat to allow treatments to penetrate. Elasticity (how far hair stretches before snapping) is a quick health check: low elasticity = weak hair — avoid chemical relaxers and opt for milder smoothing.
Density and sectioning strategy
Thick, dense hair needs smaller sections and possibly multiple passes to get an even result, increasing heat exposure risk. Choose kits and tools with adjustable settings, and plan longer work time with protective breaks.
Prior chemical services matter
Colored, bleached, or permed hair is more fragile. If you’ve bleached or recently colored, lower temperatures and protein-repairing products are safest. Permanent relaxers on previously treated hair greatly increase breakage risk—consider professional help.
Quick heat guide (general starting points)
Strand and patch testing (non-negotiable)
Always do a strand test (small hidden section: apply full process, activate heat, then rinse/style) and a patch test (product behind ear/inner forearm; wait 24–48 hours). Look for breakage, extreme dryness, color shift, or irritation.
These assessments set you up to choose the right kit and read labels confidently — next we’ll cover exactly what to look for in ingredients, claims, and safety labels.
What to Look For: Ingredients, Labels, and Safety Claims
Read the label like a pro
Start by scanning the active ingredients (top of the list) and preservatives. If a kit claims “formaldehyde-free,” still check for synonyms and releasers: formaldehyde, methylene glycol, paraformaldehyde, formalin, quaternium-15, DMDM hydantoin, imidazolidinyl urea, diazolidinyl urea. These are common red flags—some professional keratin treatments have tested positive for formaldehyde or releasers in independent checks.
Safer ingredients and protective additives
Look for formulas that include conditioning and reparative components to offset processing stress:
These help protect strands during heat activation. If you see strong alkalis (sodium hydroxide) or reducing agents (ammonium thioglycolate), treat them as chemical relaxers — use only if you understand the risks.
pH matters
Neutral to slightly acidic products (pH ~4.5–6) help close the cuticle after treatment; high-alkaline products open the cuticle and raise breakage risk. The label or technical data sheet (TDS) should list pH.
Decoding claims and certifications
“Dermatologically tested,” “allergy-tested,” or “hypoallergenic” aren’t guarantees. Verify with:
Practical details: shelf life, storage, and tools
Check expiration date or PAO (e.g., “12M”). Store kits in a cool, dry place away from sunlight. Use included tools—nitrile gloves, applicator brushes, measuring tools—exactly as directed; if gloves aren’t supplied, buy nitrile gloves and a stiff applicator brush. Proper tools reduce spills, skin contact, and uneven application.
Armed with label literacy and the right kit, you’re ready to move into safe preparation and application steps in the next section.
Step-by-Step: Preparing, Applying, and Activating Your Kit Safely
Preparation: cleanse, detangle, and measure
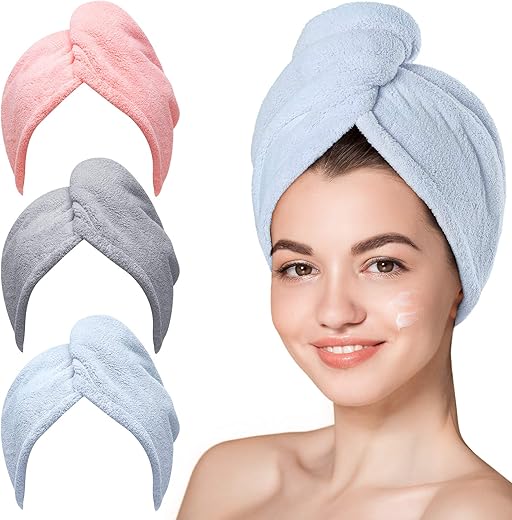
Start with a deep cleanse: use a clarifying shampoo to remove oils, silicones, and buildup so the formula can penetrate evenly. Towel-blot to damp — not dripping — and gently detangle with a wide-tooth comb. Measure product precisely; guessing increases uneven results and risk.
Create a safe workspace and don protective gear
Work in a well-ventilated room or near an open window. Lay down towels or a washable drop cloth. Wear nitrile gloves, an old T‑shirt, and a plastic cape if provided. Keep a timer, a bowl of cool water, and cotton swabs handy for quick cleanup.
Patch and strand tests (non-negotiable)
Always do a scalp patch test 24–48 hours before full application to check for allergic reactions. Perform a strand test on an inconspicuous section to confirm processing time and final texture — read results after the manufacturer’s shortest recommended time, then at the maximum to find the safe sweet spot.
Application timing and sectioning
Follow kit timing exactly; if unsure, use the strand test result. Section hair into 4–8 panels, then work with 1/4–1/2-inch subsections clamped with clips. Smaller sections = more consistent processing.
Safe heat practices and using irons/tools
Set heat conservatively:
Use a quality flat iron with even heat plates. One slow pass per subsection is ideal — multiple repeated passes raise damage risk. For home activation tools, preheat fully and test on a towel first for stable temperature.
Neutralizing, drying, and aftercare
If the kit requires neutralizing (chemical relaxers), rinse fully with lukewarm water and use the neutralizing shampoo until suds are clear. Keratin-style systems may instruct minimal rinsing or delayed washing — follow the label. Dry gently: pat, then blow-dry on low-to-medium heat; avoid immediate high heat. Limit full chemical straightening to recommended intervals (relaxers: ~8–12 weeks; keratin: 3–6 months). For heat-only styling, keep it to 1–2 times weekly and build in protein/moisture treatments between sessions.
Next, we’ll cover daily heat management and protective aftercare to minimize long-term damage.
Minimize Damage: Heat Management and Protective Aftercare
Smart heat habits
Use the lowest effective temperature for your hair. As a quick rule: fine/damaged — keep it low; medium/thick — moderate; coarse/resistant — higher but sparingly. Limit hot styling to 1–2 times weekly for heat-only straightening; chemical systems should follow manufacturer spacing. Keep a simple log (date, tool/temp, product used) — you’ll spot patterns before damage does.
Tool care and maintenance
Protective product stack
Start with a lightweight heat protectant, follow with a leave‑in for slip, and finish with a smoothing serum on ends.CHI 44 Iron Guard Thermal Protection SprayExamples that perform well: Olaplex No.3 as a bond pre-treatment for damaged hair, Moroccanoil Treatment for dry ends, and silicone-free leave-ins for color-treated hair. Choose products labeled “heat-protectant” and rated to at least 450°F (so protection is stable above typical tool settings).
Conditioning, wash schedules, and clarifying
Moisture vs. protein balance
If hair stretches and snaps, add protein (bond builders, protein masks). If it feels gummy or stiff, dial back protein and add deep moisturizing masks. Rotate: one protein treatment every 6–8 weeks, moisturizing mask weekly.
Daily habits that protect results
Small, consistent habits and the right products keep straightened hair sleek — not sacrificed.
Troubleshooting, Red Flags, and When to Seek Professional Help
Common problems and practical fixes
Immediate first-aid for mild reactions
If irritation or mild burning occurs, act quickly:

Red flags — seek urgent medical help
When to consult a licensed stylist
For structural damage, color shifts, or uneven chemical neutralization, book a pro. Stylists offer:
Avoid DIY “salon fixes” like at-home color stripping or aggressive rebonding. A stylist can map recovery: stop harsh services, hydrate weekly, use bond-protecting treatments, and trim every 6–8 weeks. Ready to move into a final checklist and recovery timeline?
Final Checklist: Straighten Smart and Protect Your Hair
Wrap-up: Choose a kit suited to your hair type and history, read ingredient lists, and always perform a patch and strand test before full application. Follow instructions step‑by‑step, monitor timing, and protect your scalp.
Quick checklist before you start:

Hello! I’m Ava Wilson, a passionate advocate for healthy, beautiful hair. With years of experience in the hairstyling industry and a deep-rooted love for all things hair, I’ve made it my mission to share valuable insights and expert tips on nurturing and styling locks.


Some practical tips that helped me — since the guide mentions aftercare, here’s my routine:
1) After any chemical kit, wait at least 48-72 hours before heavy heat styling.
2) Use CHI 44 Iron Guard Thermal Protection Spray every single time you use the Remington Shine Therapy 1-Inch Argan Oil Flat Iron.
3) Once a week do a protein treatment (I like Elizavecca Cer-100) followed by a moisturizing mask the next week.
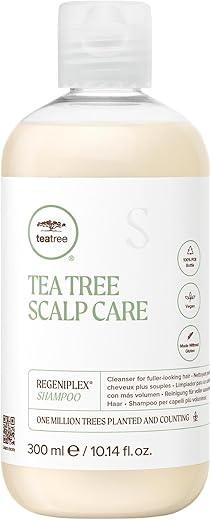
4) If you’re using Kativa or any keratin-style kit, avoid sulfate shampoos as the article points out.
Also: keep a diary of what you used and results — surprisingly helpful to avoid repeating mistakes.