Salon-Worthy Layers from Your Bathroom Mirror
Quickly learn a safe, step-by-step approach to cut flattering, salon-worthy layers at home. This guide shows how to prep, section, establish reliable guidelines, cut face‑framing and top layers, blend professionally, and style for polished, natural results you can maintain easily.
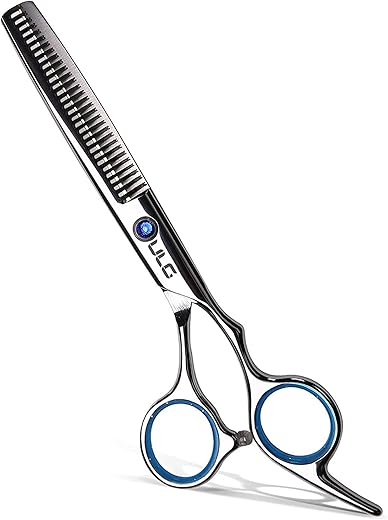
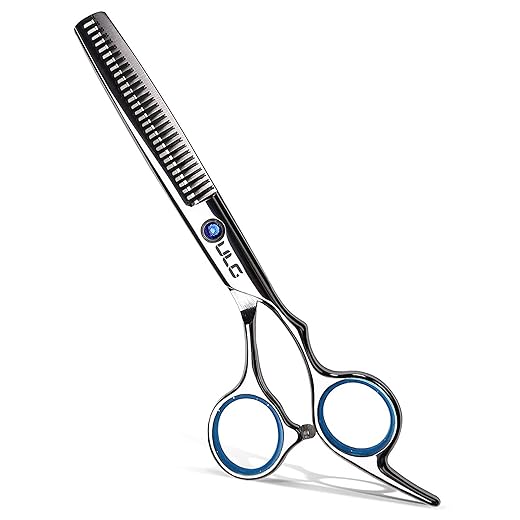
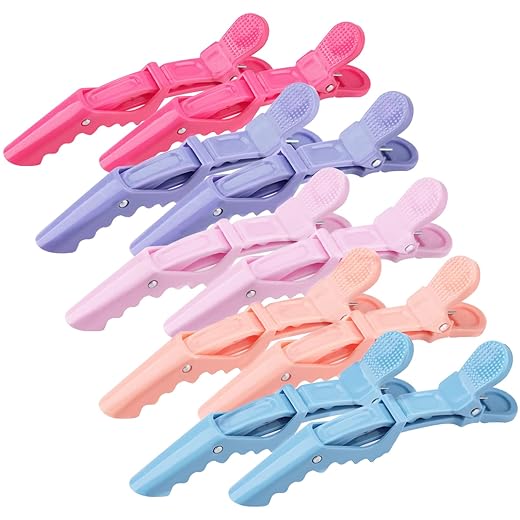
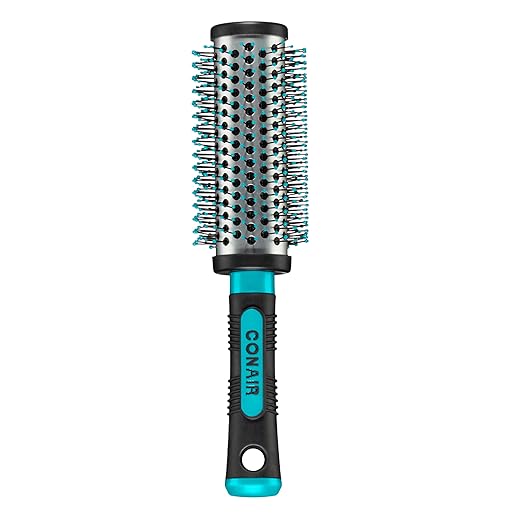
What You'll Need
Master Layered Haircuts at Home: Easy, Pro Tips
Step 1 — Assess Your Hair and Choose Layer Goals
Why a three-minute assessment will save you an hour of regret.Examine your hair at the mirror. Check length, density, texture, growth direction and face shape before you cut. Decide what effect you want: movement, volume, or soft framing.
Identify your target style and pin a reference photo. Sketch the silhouette on paper or take a screenshot to keep proportions clear.
Mark how much length you can realistically remove (usually 2–4 inches for a noticeable but safe change). Note any cowlicks, natural parting, or previous layers to plan where to place graduation.
Step 2 — Prep and Section Like a Pro
Want a cleaner cut? Sectioning makes the magic happen.Dampen hair lightly with a spray bottle for control; hair should be damp, not dripping. Comb through to remove tangles and work in a light leave‑in or detangler if needed.
Create clean, logical sections so guide lengths stay consistent. Part where you normally wear it—use a center part for symmetry or a side part to match your everyday look. Example: if you habitually tuck hair behind one ear, use that side part.
Clip each section out of the way and label with small motions (e.g., tilt crown forward/back). Proper sectioning prevents accidental uneven layers and makes cutting predictable.
Step 3 — Establish a Reliable Guideline
One steady guide prevents the 'staircase' disaster—seriously.Choose a small subsection to create your primary length guide—usually at the nape for overall balance or beneath the chin for face‑framing. Hold the hair between your index and middle finger, taut and straight, to set a precise baseline.
Select the elevation that matches your goal:
Cut a clean, precise line to set the baseline. Work symmetrically: replicate the guide on the opposite side. Keep your wrist steady, snip small amounts, and check frequently with a mirror to ensure balance.

Step 4 — Create Face-Framing and Top Layers
Cheekbones on demand: place layers where they flatter your face.Release the front panels and decide where the face‑frame should start — around the chin, collarbone, or cheekbone depending on your face shape (chin for rounder faces, collarbone for longer faces, cheekbone for soft framing).
Elevate each section to the chosen angle and cut.
Cut in small increments; for bangs or fringe, trim a little at a time and use vertical point‑cuts to avoid a blunt line. Step back frequently and check how the layers fall around your face in natural light.

Step 5 — Blend, Texturize, and Refine
Avoid the 'staircase'—blend layers like a stylist without thinning everything away.Use point‑cutting and slide‑cutting to soften any harsh lines and remove bulk. Hold small vertical sections and make upward point‑cuts to break a blunt edge. Slide‑cut along mid‑lengths to thin without creating notches. Take 4–6 vertical snips along a 2–3″ heavy line to create movement.
Refine ends with micro‑adjustments—cut less than you think and re‑evaluate with hair dry or air‑dried.
Step 6 — Style to Reveal the Layers and Plan Maintenance
Keep it salon-fresh for weeks—styling reveals your handiwork.Style your hair to showcase the new movement. Blow-dry using a round brush (1″–2″ for most lengths) to lift the roots and shape ends — wrap sections and roll the brush under for a smooth, bouncy finish.
Air-dry with a mousse or sea‑salt spray for textured separation; scrunch and let it set for a lived‑in look. Use a flat iron for sleek, polished layers with one smooth pass per section, or a 25–32 mm curling wand for soft waves that reveal shorter pieces.
Finish with a lightweight serum on mid‑lengths and ends or a texturizing spray at the roots for volume.
Finish and Care
Review your cut in different lighting, make tiny refinements, and follow a simple styling and maintenance plan; with practice and conservative trimming, you can keep layers salon-worthy at home—are you ready to make this routine part of your daily self-care?

Hello! I’m Ava Wilson, a passionate advocate for healthy, beautiful hair. With years of experience in the hairstyling industry and a deep-rooted love for all things hair, I’ve made it my mission to share valuable insights and expert tips on nurturing and styling locks.


Okay so I followed Steps 1–3 and was super careful with sections.
But when I started face-framing (Step 4) it felt… off? My layers looked choppy and uneven.
Maybe I’m pulling the hair at the wrong angle.
Anyone else have this happen and how did you fix it?
Would love a quick checklist for angles and tension.
One more quick tip — check in natural light and with hair dry if possible. Wet hair can look fine but behave differently when dry.
Yep happened to me too. What helped: comb down the section and cut less than you think, then texturize. Your hair probably needs softer point-cuts rather than big slices.
Thanks for the detailed note, Sophie — great job getting through the early steps. Choppiness during face-framing is usually about tension and angle. Try holding the hair at a 45° angle away from the face and use small, vertical snips for softness. If it feels uneven, blend with point-cutting (Step 5) rather than blunt trimming.
Thanks for this guide — clear and practical.
Quick maintenance question: how often should I retouch layers if I want them to keep that salon look but can only visit every 3 months?
Also, any at-home trims you recommend between visits?
Would love a simple routine I can do monthly.
Awesome, thanks! I was worried about using scissors near my face but eyebrow ones sound smart.
I do tiny trims with eyebrow scissors for the bangs/face frame — less scary and effective between cuts.
If you visit every 3 months, a light at-home trim every 6–8 weeks helps (just tidy up ends and blend any growing layers). Monthly: dust the ends (snip 1/4 in) and re-shape face-framing pieces. Use small scissors and go slowly.
I tried the at-home method but my top layers ended up too short and poofy. I think I over-directed them when creating the guideline. Any tricks for evening things out without having to cut more?
Second the blow-dry trick. Also wear headbands while it grows out, lol.
If you don’t want to cut more, try styling tricks first: smoothing serum, blow-dry with a round brush to weigh them down, and finish with a light pomade. For blending without cutting more, carefully point-cut the heavier sections to soften the edge.
Dry shampoo and a flat iron helped me disguise weird short layers — not a fix, but a good quick camouflage 😂
This guide gave me the confidence to actually do layers at home!! 😭💕
I was sooo nervous but the sectioning tips were gold.
My only oops was forgetting to clip out the back properly (duh) and I cut a little too much on one side — but styling fixed it.
Thank you for including maintenance — saved me a salon trip. Highly recommend for brave beginners!
For light hold and definition, a curl cream or lightweight mousse is perfect. Avoid heavy waxes if you want movement.
Which styling product did you use? Trying to avoid anything too heavy.
Yay Lily, love hearing that! Clipping the back is easily the trickiest part. Next time, use 2 mirrors or ask someone to check symmetry for you.
Mousse is underrated. Also, use a wide-tooth comb to avoid messing up the layers after.
I used a light mousse for volume and a tiny bit of hair oil on the ends. Kept it natural-looking.
Question about Step 5: when you say ‘texturize’, do you mean using thinning shears across the whole layer or just spot-texturizing? I’m worried about removing too much weight.
Spot work only unless you’re experienced. I regret the one time I blitzed the whole layer with thinners 😬
Good question, James. We recommend spot-texturizing — focus on heavy areas and ends rather than running thinning shears through entire sections. Point-cutting is gentler for overall softness.
Tried the guideline step this weekend — actually worked better than I expected. Quick tip: use sharp scissors and go slow. Don’t rush the first guideline cut.
Awesome, Marcus — glad it helped! Yep, sharp scissors and patience are the secret. If you’re nervous, practise the guideline on a small back section first.
100% — took me two hours the first time lol, but now it’s a 20-min refresh. Also, clip the rest out of the way properly.
I attempted the ‘blend and texturize’ step and ended up looking like I stuck a fork in my head. 😂
But honestly, the instructions saved me from total disaster. Next time I’ll go lighter on the thinning shears.
Haha been there! Thinning shears are powerful — use them sparingly and test on a hidden section first. Point-cutting with regular scissors is a safer way to start.
Same! My barber looked at me weird but now it’s grown out into something cute. Patience + styling helps.
Loved the step-by-step — super clear. A couple thoughts:
1) Maybe add a small diagram for the sectioning — I had to rewatch a few bits to get the center part right.
2) For people with very curly hair, the guideline length might need adjusting because of spring-back. Mention that more?
3) Maintenance schedule was helpful, but could use an alternate plan for low-maintenance folks.
Otherwise, great write-up — definitely gonna try the face-framing layers next week.
One quick curly-hair tip: cut when dry or do a curl-by-curl approach. Wet→cut→dry changes the length unexpectedly for tight curls.
Agree on diagrams — I’m a visual person and it would’ve saved me a lot of trial and error.
Curly hair here: I measure shorter for curls and do small test cuts. Works better than following a straight-hair guideline exactly.
Thanks for the excellent suggestions, Aisha — those are super helpful. We’ll add a section about adjusting for curl pattern and a simple diagram for sectioning. Also planning to include a low-effort maintenance routine in the next update.