
Introduction: Why Perfect Curls Matter
Discover a simple, reliable approach to create defined, frizz-free curls using top products and pro techniques. Learn how to prep, choose, apply, dry, and maintain curls for lasting shape and healthy hair you’ll love every day and salon-worthy results daily.
Requirements: What You’ll Need
Choosing the Best Curly Hair Products: A Beginner’s Guide
Step 1: Prep Your Hair for Success
Want curls that last? The right prep is non-negotiable — think hydration, porosity hacks, and gentle handling.Start with clean, conditioned hair — product absorption and curl formation depend on a fresh base. Choose a sulfate-free shampoo and a moisturizing conditioner matched to your hair type and porosity. Rinse thoroughly.
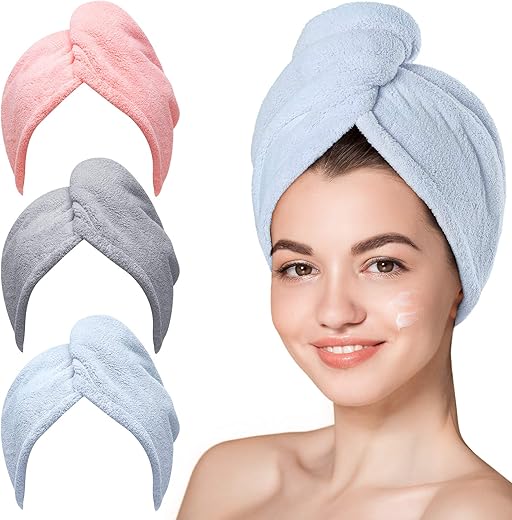
Blot excess water gently with a microfiber towel or cotton t‑shirt to avoid frizz and breakage. Apply a lightweight leave‑in from mid‑lengths to ends, concentrating on dry or damage‑prone areas.
Use the following checklist to tailor your routine:
Match product density to hair thickness — less on fine strands, more on coarse — to avoid weighing curls down.

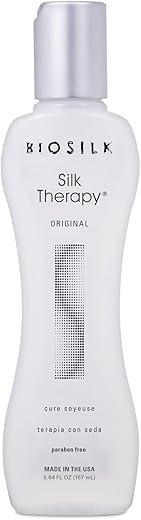
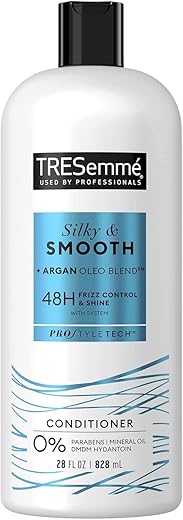
Step 2: Choose the Right Products
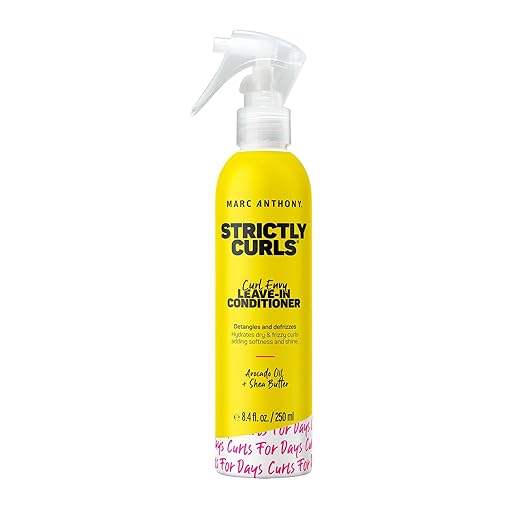
Stop guessing — these product types actually make curls pop. Which one suits your hair best?Select a lightweight leave‑in to add slip and hydration without flattening waves or fine curls. Start with something you can apply from mid‑lengths to ends.
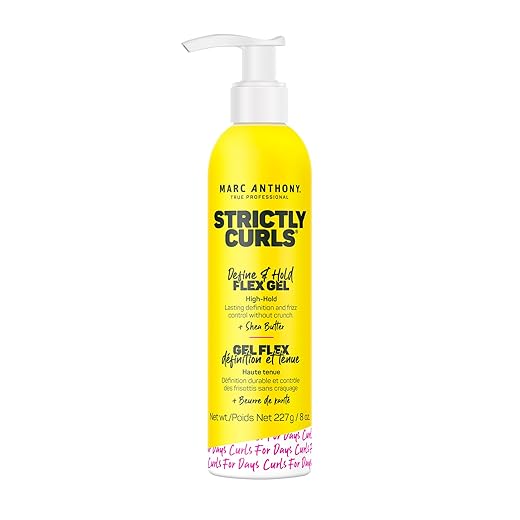
Choose a styling base depending on the finish you want:
Look for humectants like glycerin or propanediol if your hair needs hydration, but prefer creams or anti‑humidity gels in hot, humid weather to avoid excess frizz. Prefer silicone‑free oils (jojoba, argan) to seal moisture and add shine; apply sparingly to ends only.
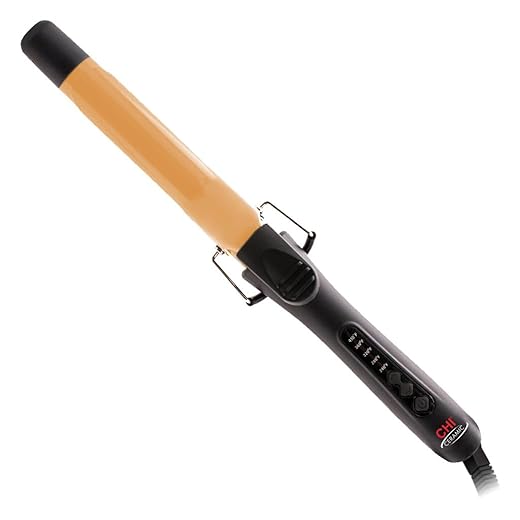
Avoid alcohol‑heavy formulas that strip moisture. Invest in a good diffuser and a tool with adjustable heat if you use heat styling. Consider multi‑use products (leave‑in + styling) for a streamlined routine.
Perform a small patch test on a hidden section to see how products interact with your texture before full application. Rotate staples seasonally and log what works.
Step 3: Apply Products & Techniques That Work
The magic isn’t the product — it’s how you apply it. Ready to learn the hands-on secrets pros use?Start applying styling products on evenly damp hair to lock shape and reduce frizz.
Work section by section, clipping unused hair away and starting at the nape.
Use the rake and shake method with fingers to distribute product from roots to ends, then gently shake each strand to encourage clumping.
Alternate with the praying hands technique—smooth product down a hair section between flattened palms to align cuticles and seal moisture.
Try finger coiling small (¼–½ inch) sections around your index finger for tighter, uniform spirals—ideal for defined ringlets.
Use minimal product at the roots to avoid greasy lifelessness and concentrate product from mid‑lengths to ends where curls need structure.
Scrunch upward with cupped hands to amplify curls, but avoid over-manipulating once curls begin to set.
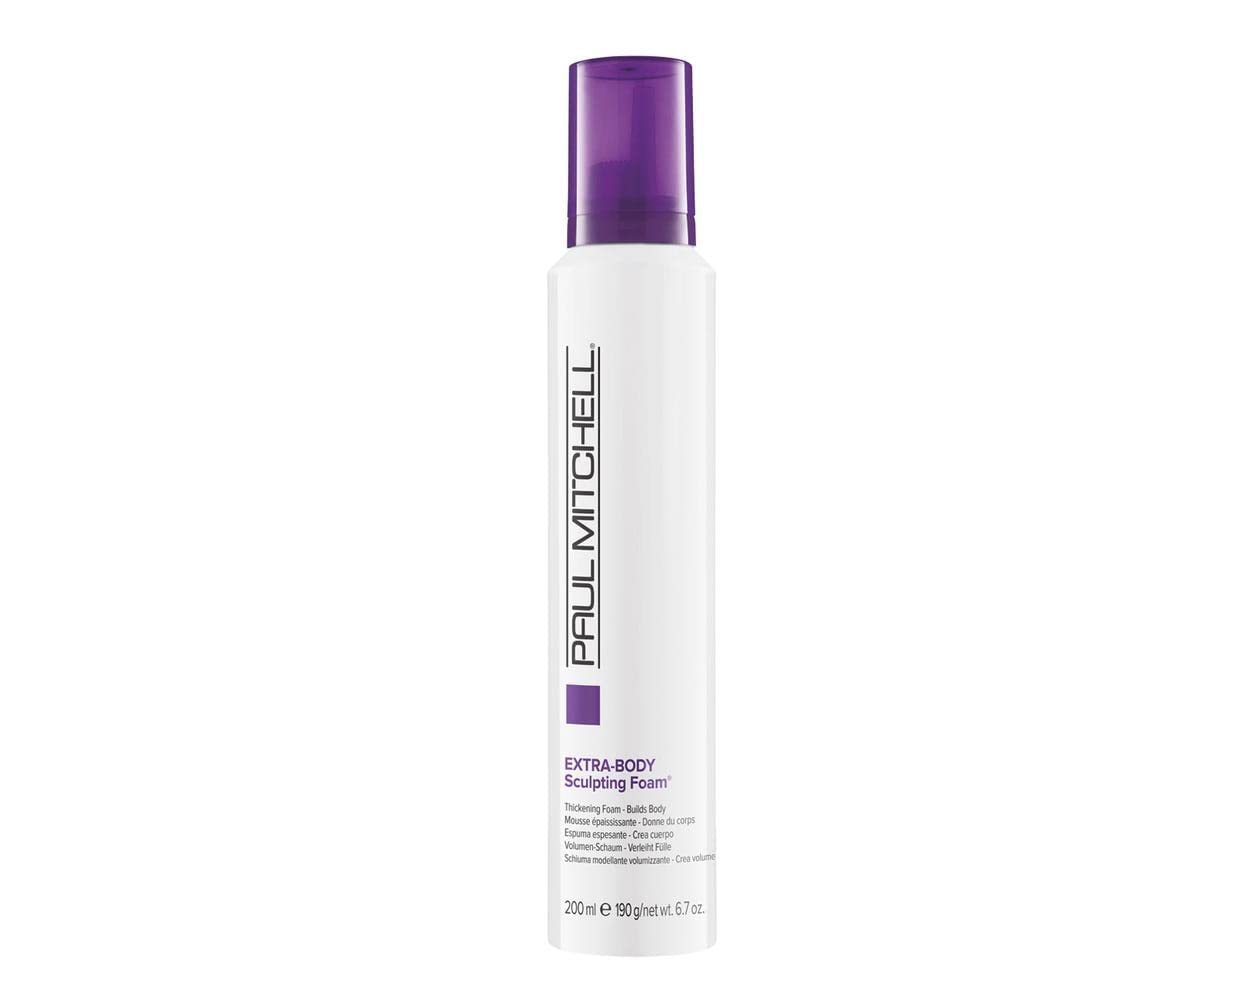
Flip your head upside down while applying mousse for extra lift, and consider plopping in a t-shirt to start shaping before air drying.
Be patient during application—consistent clumps form faster with practice and give bouncier, longer‑lasting curls.
Step 4: Drying & Finishing for Long-Lasting Shape
Don’t rush the dry — small choices here determine shape, frizz, and longevity. Which drying move wins?Use a diffuser on low airflow and medium heat to set clumps without frizz.
Cup curls gently in the diffuser bowl and hold each section until mostly dry to lock shape.
Move the diffuser around sections rather than overworking one area.
Flip hair and diffuse roots first for maximum volume, then reshape clumps at the mid‑lengths and ends.
Try cupping a 2–3 inch clump and holding it in place for a few seconds so the curl forms a stable cast.
Air-dry when possible: avoid touching hair until it is almost completely dry to prevent frizz.
Apply a small amount of lightweight oil to the ends once fully dry; warm the oil between fingertips before smoothing to add shine and tame flyaways.
Perform a careful scrunch‑out‑the‑crunch (SOTC) if you used gel—scrunch gently to break the cast, then finish with a cold air blast to seal the cuticle.
Preserve style overnight by loosely pineappleing hair on top of your head and sleeping on a silk or satin pillowcase.

Step 5: Troubleshoot & Maintain Healthy Curls
Split ends, frizz, limp roots? Fix common curl crimes with simple hacks and a consistent routine.Fix crunchy or brittle curls by using a protein‑light treatment sparingly—try a 5–10 minute in‑shower protein spray once monthly.
Add moisture to limp hair with a deep moisturizing mask (examples: avocado or glycerin-rich masks) and leave on 10–20 minutes.
Clarify monthly to remove buildup: use a gentle clarifying shampoo or an apple cider vinegar rinse (1–2 tbsp ACV per cup water), then follow with a rich conditioner.
Adjust humectants by swapping products: replace glycerin-heavy gels in high humidity with silicone‑or oil‑based creams to avoid frizz.
Trim dead ends and schedule a curl‑conscious haircut to even out patterns and restore bounce.
Lift roots using a targeted root‑lifting spray or diffuse upside down at roots for volume.
Protect hair overnight: pineapple loosely, sleep on a silk/satin pillowcase or bonnet, and mist lightly before bed to refresh shape.
Track results by photographing hair and noting humidity, products, and water type; use patterns to refine choices.
Consult a curl‑specialized stylist for porosity testing, salon treatments, and a tailored maintenance plan.
Preserve curl health daily with small, consistent interventions.

Conclusion: Your Curl Routine, Simplified
With the right prep, products, and techniques for your curl type, you can achieve defined, frizz-free curls consistently. Experiment conservatively, track results, maintain hair health, and share your progress — give it a try today and show us your curls!

Hello! I’m Ava Wilson, a passionate advocate for healthy, beautiful hair. With years of experience in the hairstyling industry and a deep-rooted love for all things hair, I’ve made it my mission to share valuable insights and expert tips on nurturing and styling locks.

I appreciated the ‘apply products in sections’ tip. Makes such a difference. I used to glob it on and get mushy curls.
I started doing small sections and my left side for some reason always looks better — still trying to figure symmetry lol.
Yes, sectioning is underrated. Even two sections can improve coverage and definition.
Tried the ‘plop for 15 min’ hack and ended up falling asleep with it on my pillow — not recommended 😂
But seriously, it did help with definition around the crown.
The ‘heat protectant before diffusing’ reminder was clutch. I had been skipping it and my ends are thanking me now 💆♀️
Yay! Heat protectant is a must even for lower heat settings. Happy your ends are healing.
I appreciated the section on ‘choose the right products’ — made me realize my conditioner was too heavy. Switched to a lighter one and wow.
Also, tiny rant: stop telling people all curls are the same. They aren’t. k thx 😅
Absolutely — tailoring is key. I’ll add a clearer note about curl types and product recommendations in the next pass. Thanks for calling that out!
Haven’t tried a diffuser in years but your instructions for drying looked clear. Quick q: do I scrunch while blow-drying or let curls form first?
Minor constructive feedback: would love a quick cheatsheet for ‘dos and don’ts’ — like a printable checklist from each step. Otherwise, fantastic write-up!
Great idea — I can add a downloadable checklist in the next update. Thanks for the suggestion!
Yes please — a one-page cheat sheet would be great for the shower routine.
Loved the product list. Quick Q: can I use a silicone serum daily or only on wash days? My hair is wavy-curly and gets greasy fast.
If your hair gets greasy, use silicone serum sparingly — apply mainly to ends, and reserve daily use for very dry hair. A lighter oil or anti-frizz cream applied sparingly works better for daily use.
Same — I only do serum on second or third-day hair, focusing on ends.
Not a curl person but this was easy to follow. My girlfriend tried it and now refuses to let me touch her hair lol.
Jokes aside, the product layering order (leave-in → cream → gel) was super helpful.
Tell her to teach you the pineapple technique — it’s a cute date-night skill 😂
Thanks for trying it out together — sometimes an outside tester helps a lot. If anything felt heavy, try using less cream and more gel for hold.
That’s the right order for most people. Glad it worked for her!
I’ve been battling frizz for years. Your troubleshooting step suggested lightweight serums and anti-humidity sprays; I ordered one and it actually works way better than multiple creams.
Also, how often should I trim to keep curl shape? The guide touched on trims but didn’t give a timeframe.
Glad the anti-humidity spray is helping! For trims, generally every 8-12 weeks for active curl shaping, but you can stretch to 12-16 weeks if you’re growing length.
Also ask your stylist to dry-cut or cut in your curl pattern so it sits right when it air-dries.
Some people can go longer depending on hair health, but 8-12 is a safe bet.
If you notice split ends or loss of definition, that’s a sign you shouldn’t wait too long.
I go every 10 weeks to keep the shape. My stylist uses curl-specific cutting techniques which help a lot.
Short take: the tech works but my main issue is product buildup. I follow Step 1 and still feel like my hair gets gummy after 3 uses.
Has anyone found a clarifying schedule that keeps curls defined without drying them out?
This might be extreme but apple cider vinegar rinses help clarify without harsh sulfates. Dilute it tho, don’t go full vinegar 😂
I clarify once every 2 weeks with a gentle clarifying shampoo, then deep condition immediately after. Helps balance the buildup vs dryness.
If you’re using heavy gels, consider alternating with a lightweight mousse. Same hold, less residue imo.
Also try co-washing mid-week instead of full shampooing — removes some buildup without stripping oils.
Good question, Noah — I recommend clarifying every 10-14 days depending on how much styling product you use. Use a moisturizing mask afterward to restore hydration.
Fun and useful! A few notes from my routine:
– I mix gel with a bit of oil for shine (works for me),
– Plopping for 20-30 mins gives the best root lift,
– If your hair is fine, go lighter on creams and more on mousses.
Also, there’s a tiny typo in Step 3 where ‘apply’ is written twice — noticed it while I was half-asleep reading at 7am 😅
How much oil do you add to gel? I’ve been scared to mix oil and gel but might try a tiny amount.
Thanks, Olivia — fixed the typo. Love the gel+oil tip; great for adding gloss without flattening curls.
Totally agree about mousse for fine hair. Gives body without weighing down.
I do like literally a pea-sized drop per palm and then scrunch through. Start smaller and ramp up if needed!
Seriously loved the step-by-step flow here.
I tried the curl cream + diffuser combo from Step 4 and it actually lasted two days without major frizz.
Also, the troubleshooting section saved me — I had no idea about ‘pineappling’ at night 😂
Only thing: wish there were more budget product recs for curly guys.
Will try the microfiber towel tip next wash!
Thanks for the feedback, Ethan — glad the diffuser hack worked! Noted on the budget picks, I’ll add a short subsection with drugstore alternatives soon.
Agree — the pineapple trick is a game changer for overnight volume. Try a silk scrunchie if you haven’t!
For budget options, SheaMoisture and Not Your Mother’s both have decent curl creams that don’t break the bank.
Great guide. Step 2 helped me choose a better leave-in — I swapped to a lighter one like you suggested and my curls look less weighed down.
Awesome! Lighter leave-ins are underrated. If you’d like, tell me your hair porosity and I can suggest a few tailored picks.