
Salon-Perfect Blowouts at Home
Get a salon-quality blowout at home using simple tools, smart technique, and practice; this guide shows how to prep, wash, dry, style, and maintain your look so it stays smooth and salon-fresh all week long.
What You’ll Need

Achieve a Salon Blowout at Home with the Revlon One-Step Dryer & Volumizer
Prep Like a Pro: Assess, Detangle, and Section
Want salon lift before you even turn on the dryer? The secret is all in the prep — don’t skip it.Assess your hair length, texture, and porosity so you can pick the right heat setting and products.
Gently detangle wet hair with a wide-tooth comb or paddle brush to remove knots without causing breakage.
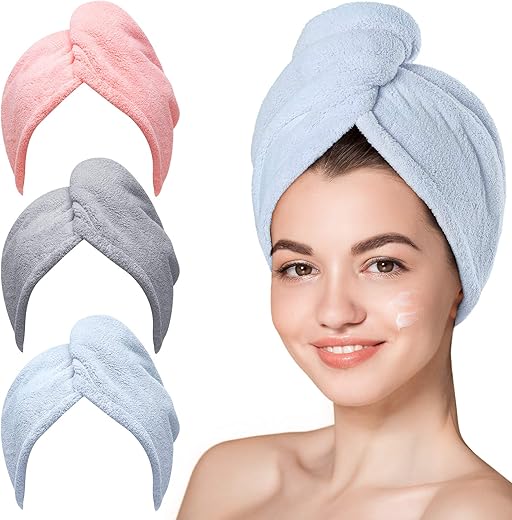
Towel-blot with a microfiber towel until hair is damp — squeeze out excess water; avoid rubbing or leaving hair dripping.
Apply a lightweight leave-in heat protectant evenly from mid-lengths to ends; spray or pump sections to ensure coverage.
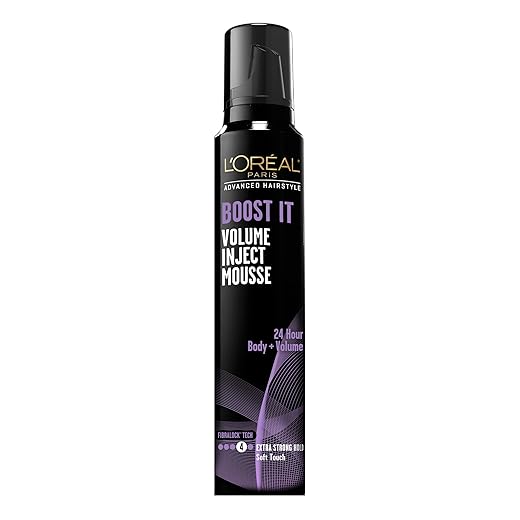
Concentrate a small amount of volumizing mousse at the roots if you want lift — example: for fine hair, use one golf-ball–sized dollop at the crown; for thick hair, use a slightly larger amount.
Section hair into three horizontal layers — nape, crown, and top — and secure each with clips.
Work methodically from the nape up: good sectioning and product placement make the actual blow-dry faster and more consistent.
Wash and Prime: The Right Shampoo, Conditioner, and Treatments
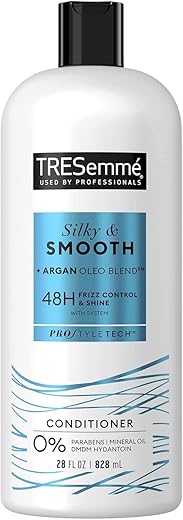
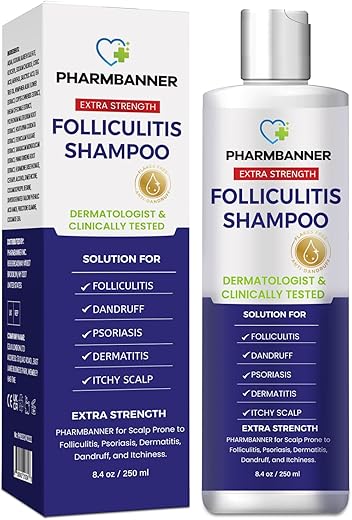
Skip heavy conditioners at the roots — your blowout will thank you with extra bounce and longer hold.Choose a shampoo that matches your goal: volumizing for fine hair, smoothing for frizz-prone or thick hair. Lather gently, focusing on the scalp; rinse thoroughly.
Apply conditioner only from mid-length to ends to avoid weighing roots down. Comb through with fingers or a wide-tooth comb for even distribution. Rinse with cooler water to seal the cuticle and boost shine.
Use light treatments sparingly:
Towel-dry gently with a microfiber towel — squeeze and blot, don’t rub.
Apply styling products to damp hair before drying:
Begin drying once products are evenly distributed.

Master the Blow-Dry: Technique, Tools, and Heat Control
One technique doubles volume and smoothness — learn it and you’ll never dread at-home styling again.Start by rough-drying on medium heat until hair is about 70% dry to remove excess moisture — this speeds the process and protects strands. Attach a concentrator nozzle to focus airflow and avoid blasting the whole head.
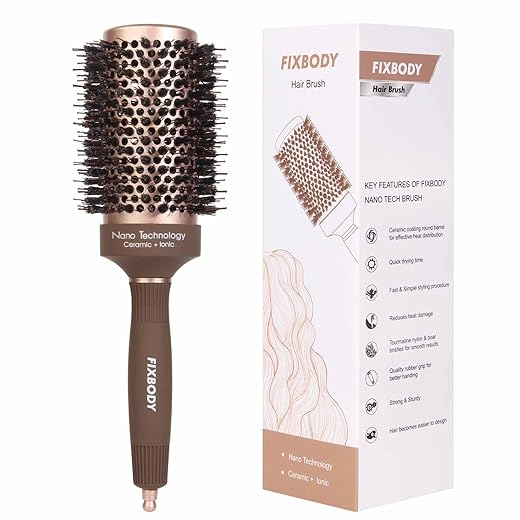
Attach a concentrator and direct airflow with intention. For volume, lift roots with your fingers or a vent brush and blow air upward into the root while angling the nozzle at the scalp (example: cup the crown with fingers, blow up, then smooth over). For smoothness, point the nozzle downward and use a round brush to create tension; glide from root to tip in slow, steady passes to seal the cuticle.
Work in sections sized to your goal: small (1–2 inch) sections for precision and ultra-smooth results; larger sections for a quicker, softer-bodied finish. Keep hair clipped out of the way as you go.
Adjust heat to hair type:
Use the cool-shot after each section to lock the style and set the cuticle.
Practice consistent brush tension and slow passes to reduce frizz and boost shine.
Style and Finish: Sculpt, Set, and Smooth
Five minutes to a polished finish — the right finishing moves add professional polish.Sculpt the shape by working section by section: use a round brush to roll the ends under or a large-barrel curling iron to create loose, face‑framing bends (example: wrap a 1–2 inch front section once around the barrel for a soft S‑bend).
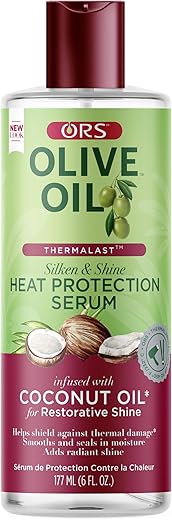
Apply a pea-sized amount of smoothing serum or lightweight oil to mid-lengths and ends—rub it between your palms, then glide through to tame flyaways and add shine. Avoid the roots to keep lift.
Mist for hold and lift:
Use minimal product—a little goes a long way toward a salon-looking finish.

Maintain Your Blowout: Refresh, Protect, and Troubleshoot
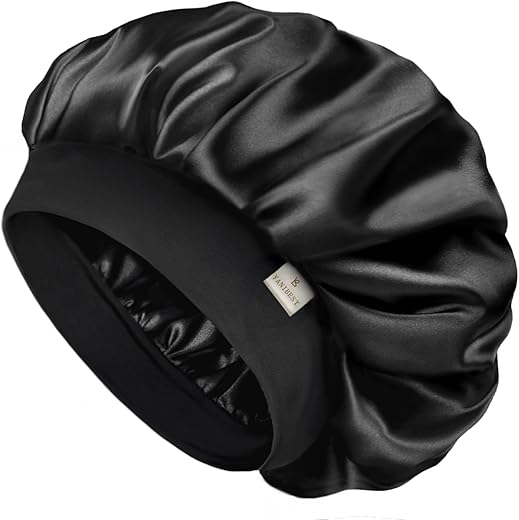
Two-day hair? No problem — quick fixes that look intentional, not rushed.Sleep on a silk or satin pillowcase or loosely tie hair in a silk scarf to reduce friction and preserve shape (example: wrap the front sections once around and knot under the nape).
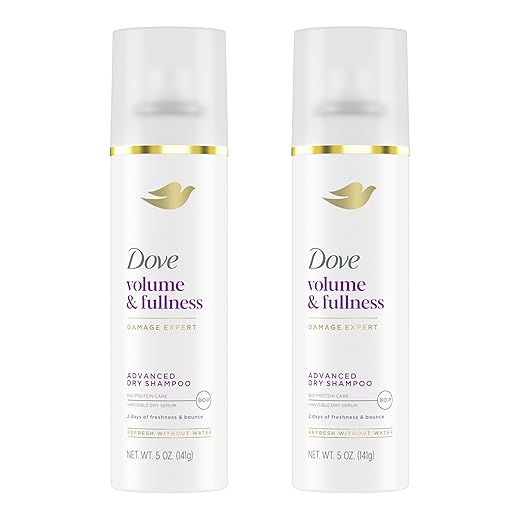
Revive day-two volume with dry shampoo—spritz 3–4 pumps at the roots, wait 30 seconds, then work the product in with fingers. Use a round brush plus warm air on the roots to reshape: lift a 1–2 inch root section, aim the dryer at the roots while rolling the brush upward.
Touch up bends or curls sparingly with a curling wand (wrap only the kinked piece for 5–8 seconds) instead of redoing the whole head.
Combat humidity with an anti-frizz spray or a pea-sized amount of lightweight oil applied only to ends to avoid weighing hair down.
Mist roots lightly with water and blow-dry upward if hair looks flat—work in small sections for targeted lift.
Start fresh when oil, product buildup, persistent limpness, or scalp irritation appears: shampoo, condition, and redo the blowout to restore bounce and scalp health.
You’ve Got This — Keep Practicing
Practice these steps to achieve salon-smooth, long-lasting blowouts—refresh with dry shampoo, touch up roots, and enjoy polished confidence. Give it a try today, then share your results and tag us!

Hello! I’m Ava Wilson, a passionate advocate for healthy, beautiful hair. With years of experience in the hairstyling industry and a deep-rooted love for all things hair, I’ve made it my mission to share valuable insights and expert tips on nurturing and styling locks.

I tried the ‘prime’ step with a protein treatment — WOW. My hair actually held curl longer. But is there a risk of overdoing protein? My stylist mentioned that once.
Yup. I do a protein mask once a month and moisturizing mask the next. Keeps things balanced.
Good observation. Yes — protein is great but too much can make hair stiff. Alternate protein weeks with moisturizing treatments and pay attention to how your hair feels (stiff = back off).
I tried the whole thing and still can’t get salon-roundness at the crown. Is it just genetics or my technique? Feels like I’m doing everything right but it sits flat.
Crowns are tricky. Try backcombing gently at the roots of the crown, set with a light spray, then smooth the surface layer over. Also check your part — changing it can fake more lift.
A small padding with hairspray and a clip while cooling can hold lift too. Not permanent but helps for the day.
Big fan of the maintain section. The refresh tips are gold for busy mornings. I spritz a mix of water + leave-in conditioner and then use a round brush quick pass — lasts me through the day.
Love the DIY spritz idea, Rachel. That combo is perfect for reactivating product and smoothing out flyaways.
Heads up: only a tiny amount of serum! I learned the hard way and looked oil-slick for an hour 😂
I keep a travel smoothing serum in my bag for touch-ups. Tiny drop on the ends and it looks salon-fresh again.
Long comment incoming — sorry not sorry. Tried this guide on my 3A curls (yes I know it’s for blowouts) and it actually turned into a low-frizz stretched style that looks polished. Steps I changed:
1) Detangled with conditioner in the shower, didn’t brush dry hair
2) Used a microfiber towel to remove most water
3) Blow-dried with a diffuser at medium heat for root volume, then switched to a paddle + round brush for ends
4) Finished with a very light oil and cool shot
Result: professional-ish blowout without losing my curl definition. Seriously, this guide is adaptable. A few typos in the product rec list but nothing major. ❤️
Appreciate the long-form breakdown. Gives more confidence to try on different hair types.
Curly hair win! Also agree about the tiny typos — easy fixes, not a content fail.
This is exactly the experiment I wanted to try, thanks for sharing the step tweaks!
Cool — didn’t realize a guide like this could be adjusted for curls. Will try the diffuser + brush combo.
Love this adaptation, Priya! Great to see the steps being tailored to curl types. Thanks for the detailed rundown — super helpful for others with textured hair.
Not sure why no one told me about the angle of the dryer before. Holding it downward like the guide says made my hair lie smoother and shinier. Game changer.
Exactly — downward airflow helps close the cuticle which equals more shine. Glad it worked for you!
Loving the heat control advice. I was guilty of blasting my hair on max and frying the ends. Switching to medium heat and using a round brush made such a difference.
Question: do you dry on damp or almost-dry hair? I used to think damp but reading this guide made me try 80% dry first and it held better.
Pro tip: if your dryer has a cold shot button, use it after each section. Locks the style and reduces frizz.
So glad that helped, Oliver. Heat settings are underrated — medium heat with a cool blast to set is usually safer and gives shine.
@Chloe Turner I go for 80% dry too — gives structure without overworking the hair.
Same here. Also try doing the root-to-tip technique (lift at roots, clamp, move slowly to ends) — less heat exposure overall.
Minor gripe: the product rec list could be more region-inclusive. A few brands aren’t available where I live. Maybe suggest ingredient types as alternatives?
Great point, Priya. We’ll update to include ingredient-based alternatives (e.g., silicone-free smoothing agents, glycerin-based humectants) for broader accessibility — thanks for the feedback.
100% — ingredient suggestions would help me pick similar options at my local shop.
Great breakdown! I tried sectioning my hair like in step 1 and it actually made the whole process faster. One thing I’d add: clip sections with duckbill clips — they hold better than normal claw clips, especially for thick hair.
Thanks for the tip, Liam — duckbill clips are a great shout for precision. Appreciate you sharing what worked for you!
Agree on the clips. I use clips + a little hairspray at the roots to keep slippery layers in place while I finish other sections.
Yes!! Duckbill clips changed my life. Also worth noting: smaller sections for fine hair, larger for thick hair.
Okay real talk: my hair frizzes like crazy no matter what I do. I followed the shampoo/conditioner recs but still get poof after 30 mins. Any troubleshooting tips? 😩
This guide made me actually try a blowout for the first time and — shockingly — it didn’t suck. The sectioning steps were ridiculously helpful. Also, anyone else struggle with your brush slipping when you try to roll the ends?
Yep, textured brushes help. Also, wrap the hair a bit tighter around the brush before you pull the dryer along — gives better tension.
Awesome to hear you gave it a go, Sofia! For slip, try a brush with a bit of texture (vented or ceramic) and use a light leave-in to give grip without weighing hair down.
Loved the styling finish tips. One thing I add: finish with a micro-fine hairspray mist from a distance to avoid crunchy layers. Also, heat-protectant + smoothing oil = keep the shine.
Argan is my go-to for shine; jojoba is great if you want something lighter and closer to natural oils.
Which oil do you use? I always get confused between argan and jojoba.
Perfect combo — light misting and a dab of oil avoids build-up but keeps things sleek. Glad you liked the tips.
I made a little mistake and used the wrong brush size the first time and it looked like a 90s blowout. 😂 After switching to the medium round brush it looked waaaay better. Also, don’t skip the cool shot.
No shame — sometimes the 90s vibe is what you’re going for! But agreed, cool shot = locks it in.
Lol the 90s blowout is iconic but not always the goal 😉 Great lesson — brush size matters and the cool shot is the finishing touch.
Question: for thick, layered hair, do you use smaller or larger sections when blow-drying? The guide says ‘section’ but not how big to make them.
I do big sections for speed then re-do the top with smaller ones for shaping. Best of both worlds.
If you’re short on time, clip top layers up and just quickly blast the lower half — then do the top properly. Makes it less overwhelming.
Good question. For thick hair, use larger base sections but thin them out as you go — you might still want to work smaller on the crown to get the shape right. For fine hair, smaller sections help create volume.
Tried the ‘smooth finish’ step and accidentally used too much cream — looked greasy. Note to self: microscopic amounts only! 😅 Also, the guide’s encouragement at the end actually helped my confidence lol.
If you’re unsure, rub the product between palms first to warm it up — distributes thinner.
Yep — start with a rice-grain-sized amount for ends and add if needed. Glad the pep talk landed!
I appreciate the troubleshooting section. My hair tends to go flat two hours after styling. The guide’s ‘refresh’ tips help a lot but anyone got product recs specifically for lasting volume?
Or use a root-lifting powder for midday lift. Tiny bit between fingers, massage into roots.
Volumizing mousse at the roots before drying + a light texturizing spray at the end usually does the trick. Also, try sleeping on a silk pillowcase to keep shape.
Had to laugh at the ‘You’ve Got This — Keep Practicing’ bit. True tho. My first five attempts looked like a porcupine, now I can leave the house. Practice, patience, and coffee. ☕️
Haha porcupine phase is part of the journey. Coffee is mandatory. Proud of your progress!
Same here. My ‘before’ photos are tragic but the persistence pays off.