
Why Seamless Bangs Matter for Long Hair
Seamless bangs transform long hair by creating soft face-framing that feels intentional, not chopped. They add movement and dimension while blending naturally into long layers. The goal is a look that reads as one flow, not two separate pieces.
This guide gives practical, simple steps. First, you’ll learn to assess face shape, hair texture, and the best bang type. Next, we cover prepping hair and the right tools. Then we show cutting and blending techniques for smooth transitions. You will also get daily styling methods to keep bangs seamless. Finally, troubleshooting, maintenance, and growth strategies help bangs stay polished over time. Whether DIY or with a stylist, these tips make bangs look effortless.

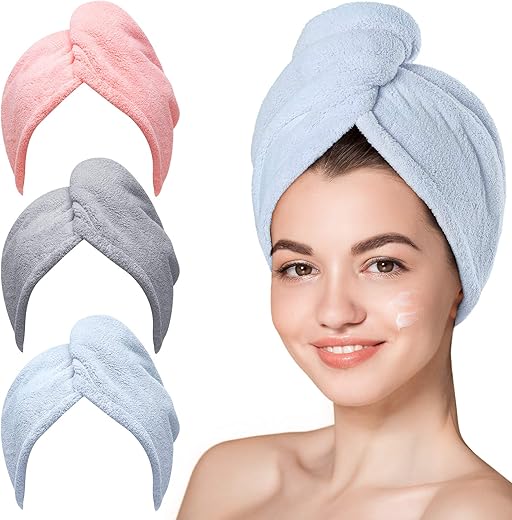
Try Seamless Clip-In Bangs Before Snipping: Morning Shades
Assessing Face Shape, Hair Texture, and Bang Type
Match bangs to face shape
Quick face-shape reads help you choose a bang that enhances, not fights, your proportions.
A real-life note: a client with a square jaw loved blunt bangs — only after adding long, face‑framing layers did the look stop reading “helmet” and start reading “intentional.”
Factor in hair texture and density
Texture changes how bangs sit and how much length you must leave when cutting.
Choose bang type and blending strategy
Each bang type needs a different transition so it reads as one hairstyle.
Practical length rules: for curls, start 1–2 inches longer than target; for waves/straight, ½–1 inch longer. When in doubt, cut less — it’s easier to remove more later. Next up: how to prep hair and pick tools so those choices translate into a seamless, wearable cut.
Preparing Hair and Gathering the Right Tools
Wash, dry, and reveal the hair’s natural fall
Start with clean hair so the cut reflects how the hair actually behaves. For most people a gentle shampoo and conditioner that don’t weigh hair down work best — avoid heavy oils or masks on the day you cut bangs. Towel-dry gently and let hair fall naturally while it air-dries for a bit to reveal its pattern; for very straight hair you can smooth-dry, but for waves and curls give them time to settle.
A quick real-world tip: one stylist I know always asks wavy clients to go about their morning routine and return with hair in its usual state — it prevents surprise shrinkage or rogue cowlicks.
Detangling and product prep
Detangle with a wide-tooth comb while hair is damp, starting at the ends and working up. Use a light leave-in or detangling spray if needed — you want smooth, separated strands, not polish or stiffness. Avoid heavy styling products that mask natural movement until after the cut.
Cut wet or dry? Match method to texture and style
If you’ve ever seen a client with taped-back curls cut too short after drying, you’ll understand why dry shaping matters.
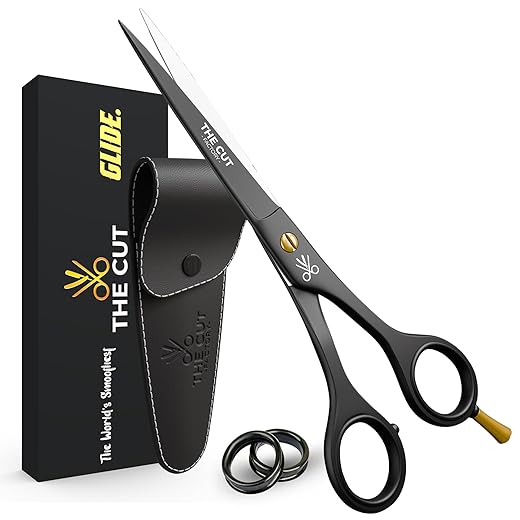
Essential tools and their roles
Sectioning: creating the bang window
Create a triangular or rounded section based on your chosen bang:
Clip the rest of the hair back in a low ponytail or secured with clips so long lengths aren’t accidentally snagged. To mark the natural fall line, comb hair forward as the client normally wears it and observe where strands land on the face; use that line as your guide so the new bangs integrate directionally with existing layers.
Next, we’ll move into the step‑by‑step cutting and blending techniques that turn this prepared foundation into truly seamless bangs.
Techniques to Cut and Blend Bangs Into Long Layers
Establish a conservative baseline
Start with a part (center or off‑center) that the client normally wears. Comb the bang section forward and cut a conservative baseline — about ½”–1″ longer than the target length for straight hair, and 1–2″ longer for wavy/curly hair (you’ll dry‑shape later). Work in small horizontal sections so you’re never cutting more than you intend.
Soften edges with point cutting
Point cutting removes weight without creating blunt bars.
A stylist anecdote: a colleague always point‑cuts with the client seated under natural light—tiny snips catch how light reads the edges.
Slide cutting to create gentle graduation
Slide cutting creates a soft transition from the fringe into longer layers.
Feathering and selective texturizing
Feathering breaks bluntness and integrates bangs with surrounding layers.
Tailor technique to texture
Blend face‑framing pieces into mid‑length layers
To keep movement continuous, cut face‑frames on a diagonal — long toward the mid‑lengths — and use slide cuts to feather into the existing layers so there’s no harsh line between bang and body.
Refining symmetry and balance
Check balance from multiple angles: straight on, both profiles, and with the client slightly tilted. Ask them to mimic their usual styling (parting, turning head). Make micro‑adjustments with 1/8″ snips until both sides mirror each other in fall and weight.
Styling Methods to Enhance Seamlessness Daily
Blow‑dry shaping: volume + inward curve
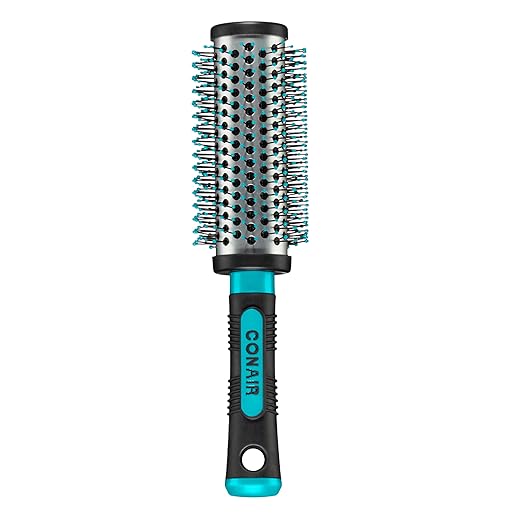
Use a medium-to-large round brush (1″ for short bangs, 1.5″–2″ for longer pieces). Section bangs separately, mist with heat protectant, then direct airflow down the strand while rolling the brush under to build root lift and an inward curve that hugs the longer lengths. A Dyson Supersonic or Conair InfinitiPro with a concentrator and an Olivia Garden NanoThermic round brush give predictable, shiny results in one pass.

Flat iron and wand techniques to match bend
For a soft bend that mirrors long layers, clamp a flat iron (GHD Platinum+ or BaBylissPRO Nano Titanium) low on the strand, twist the wrist slightly as you glide through to create a gentle S-shape. For more bounce, wrap bangs around a 1″ curling wand for one full turn, then brush through with fingers to blend into the body. Keep heat low—you want shape, not a set.
Smart product choices (lightweight and strategic)
Quick 2–5 minute micro‑routines
Blending into updos and handling awkward growth
Use discreet pins (color-matched, bent U-pins) to hide regrowth phases—place them vertically behind the hairline for no visible hardware.
Next we’ll look at troubleshooting common problems, upkeep schedules, and strategies to grow bangs out without losing that seamless connection to long hair.
Troubleshooting, Maintenance, and Growth Strategies
Quick fixes for common problems
Choppy transitions: soften jagged edges with point‑cutting—hold the hair vertically and make tiny snips into the ends to feather the line. If the choppiness is severe, avoid DIY rescues and book a stylist; major re‑shaping requires sectioning and thinning that’s hard to reverse.
Uneven growth and cowlicks: train stubborn growth by blow‑drying against the direction of the cowlick with a round brush; use a little paste or light wax at the roots to hold direction. For uneven lengths, do micro‑adjustments (see below) only after styling hair as you normally wear it.
Split ends at the transition zone: apply a hot‑oil or intensive masque and do a micro‑trim (¼” or less) to remove splits before they travel up the shaft.
Safe DIY adjustments (do this, not that)
Do: dry‑cut tiny vertical snips with sharp hairdressing shears, point‑cut at a 45° angle, and remove no more than ¼–½ inch per pass. Work with hair styled how you wear it—parted and blow‑dried.
Don’t: use blunt, horizontal chops or craft scissors. Don’t over‑thin with a razor if you’re inexperienced—razor thinning can create permanent gaps.
If unsure, take a photo and get a second opinion from a stylist before cutting.
Maintenance schedule & treatments
Growing bangs out gracefully
Disguise awkward stages by sweeping pieces to the side, pinning back with invisible bobby pins, or incorporating tiny braids that blend into layers. Book targeted trims every 6–8 weeks to angle the former bang into a face‑framing layer rather than cutting length off.
Ask your stylist for “redirected growth” trims—they’ll cut longer face‑frames slightly shorter at the front and longer at the ends so the pieces drift into the rest of your hair as they grow.
Communicating with your stylist
Bring multiple photos showing movement, not just a silhouette. Describe desired movement (“soft curtain, not blunt”) and how often you’ll maintain it. Agree on a maintenance plan—trim cadence and at‑home products—so future cuts preserve that seamless integration.
With these troubleshooting, upkeep, and growth tools in place, you’ll be ready to move into the final section and bring it all together.
Bringing It All Together
Choose a bang type that flatters your face shape and matches your hair texture, then prepare carefully with clean, detangled hair and the right tools. Cut gradually — working in small sections, point-cutting, and using texturizing techniques — to avoid abrupt lines and create natural movement. Blend bangs into long layers by softening edges and matching density so they sit seamlessly with the rest of your hair.
Adopt daily styling habits that encourage flow (light products, heat shaping, and quick touch-ups) and follow a maintenance plan for trims and growth strategies. Thoughtful blending, not drastic change, is the key to lasting, versatile bangs. Try these steps and tweak them until your bangs feel effortlessly you.

Hello! I’m Ava Wilson, a passionate advocate for healthy, beautiful hair. With years of experience in the hairstyling industry and a deep-rooted love for all things hair, I’ve made it my mission to share valuable insights and expert tips on nurturing and styling locks.


Lol I attempted the DIY bangs once and ended up with a mullet-adjacent look. This guide seems less scary tho. Might try with the Cut Factory scissors instead of kitchen shears this time. Fingers crossed 🤞
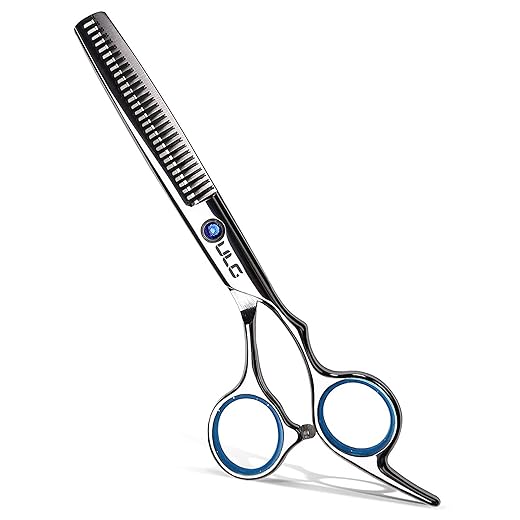
Nice write-up. I liked the daily styling section — quick and practical. One thing I’m still confused about: maintenance frequency. How often should you trim micro-bangs vs longer side-swept bangs to keep that seamless look? Also, is the ULG thinning scissor safe to use every month?
I trim side-swept about every 7 weeks and only use thinning shears every 2-3 trims. Over-thinning makes them look patchy if you’re not careful.
Short answer: micro-bangs ~ every 3-4 weeks, side-swept every 6-8 weeks for most people. Thinning shears should be used sparingly — maybe at maintenance trims rather than every time. See ‘Troubleshooting, Maintenance, and Growth Strategies’ for a table of timelines based on bang type and hair growth rate.
Okay real talk: I tried the step-by-step last weekend and almost cried when my cat walked across my hair mid-cut (true story). End result: uneven but kinda cool? 😂
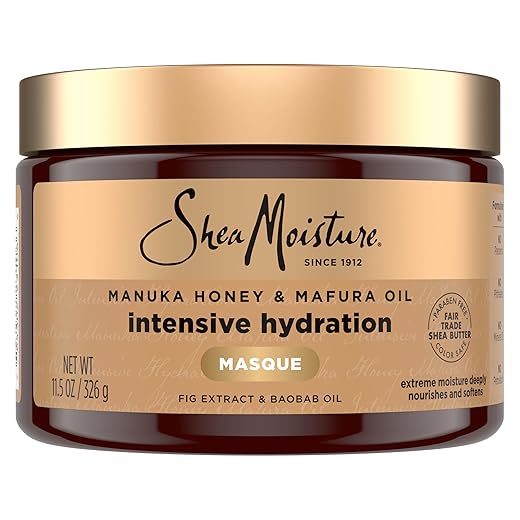
Products I used: Remington straightener + CHI spray + SheaMoisture masque after cuz I panicked with heat. The article’s styling hacks helped hide the wonky bits. Also, pro tip — keep snacks nearby when doing at-home hair surgery. You’ll need the emotional support.
P.S. anyone else have luck blending with ULG thinning shears instead of doing point cuts? I feel like it’s faster but maybe cheating?
Snacks, yes. Wine optional. Also, if you’re nervous, practice on a small peek-a-boo section first. Saved my life.
Cats are the true adversaries of DIY haircuts — noted. Thinning shears are totally fine to speed blending, just use light passes and don’t go all-in on one spot. The article recommends alternating between point-cutting and a couple of thinning passes for best texture.
One more tip: if you ever get a really short patch, style it with a little product and blunt-sweep it the wrong way while it grows — looks intentional in photos sometimes 😉
Haha same, my dog hopped up and I ended up with asymmetry. 😂 For thinning shears: not cheating, just be gentle. Use the Cut Factory for clean lines and the ULG to soften only where needed.
Really enjoyed the step-by-step on blending bangs into long layers — finally something that doesn’t start with “just cut and hope for the best.” Tried the Remington Shine Therapy 1″ Ceramic Straightener the article mentioned and it actually made my bangs sit flatter before I trimmed. The Conair round brush tip was clutch for styling too.
Quick note: CHI 44 Iron Guard is a must if you’re heat-styling every day. My only gripe is I wish there were more photos of the cutting angles.
Totally agree about CHI — smells nice and protects. For anyone worried about the straightener: use a lower heat setting on the Remington for fine hair. Saved my bangs from looking fried 😂
Thanks Laura — glad the straightener tip worked for you! For cutting angles we wanted to avoid one-size-fits-all pics, but check the ‘Assessing Face Shape’ section and the ‘Techniques to Cut’ part — there are diagrams we didn’t put in the main flow. If you want, tell me your face shape and hair texture and I can suggest exact angle ranges.
Good tip, Mike. And Laura — if you post a photo (even a cropped one) we can give a quick second opinion on blending. No pressure, just offering help!
Loved the troubleshooting section — especially the growth strategies. A few things I tested over the past month:
1) Used The Cut Factory 6.5″ Matte Black Scissors for the initial blunt trim, then blended with ULG 6.5″ thinning shears as suggested.
2) SheaMoisture Intensive Hydration Masque saved my bangs from frizz after a week of humidity. Seriously, game changer.
3) For styling, alternating between the Remington straightener and the Conair Grip & Style Large Round Brush gave me the most natural bend.
My question: when blending bangs into layers, do you recommend cutting dry or slightly damp hair for best control? I read both in different places and got mixed results.
Good back-and-forth here. Also, if you have very curly hair, follow the article’s texture-specific advice — cut when dry in curl shape to avoid straightened-length surprises.
Priya — thanks for the masque shoutout. I use SheaMoisture once a week and it helped my long layers blend so much smoother with the bangs. Also, don’t forget a heat protectant like CHI 44 if you’re using the Remington daily.
I cut mine dry after a rough trim while damp. Dry lets you see cowlicks and real lay. But if you’re new, do tiny cuts — you can always take more off. Thinning shears are your friend for transitions.
Great experimental approach, Priya — thanks for sharing results! For blending: we usually recommend cutting dry for small adjustments and blending because you see the hair’s natural fall, but start with a small snip on damp hair if you’re removing length. The article’s ‘Preparing Hair’ section covers both methods and when to use each.
I prefer slightly damp, 80% dry. Damp gives control but you avoid shrinkage surprises. Ymmv tho — depends on texture.