
Why a Perfect Wash-and-Go Changes Everything
We’ll walk you through a simple, reliable six-step wash-and-go routine that brings back defined, healthy curls. Expect lasting definition, less frizz, and deeper moisture — without complicated products or tools. You deserve easy, beautiful results every time with zero guesswork today.
What You'll Need
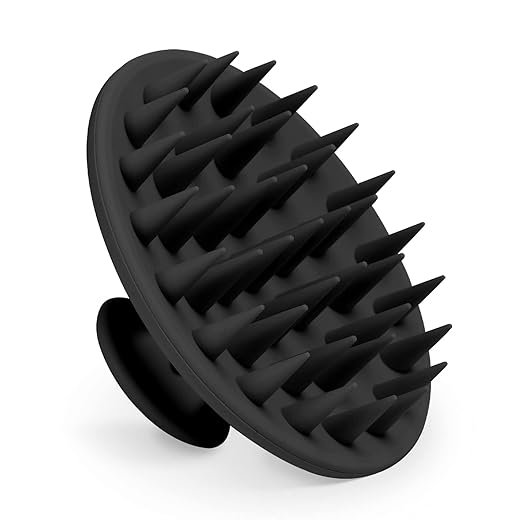
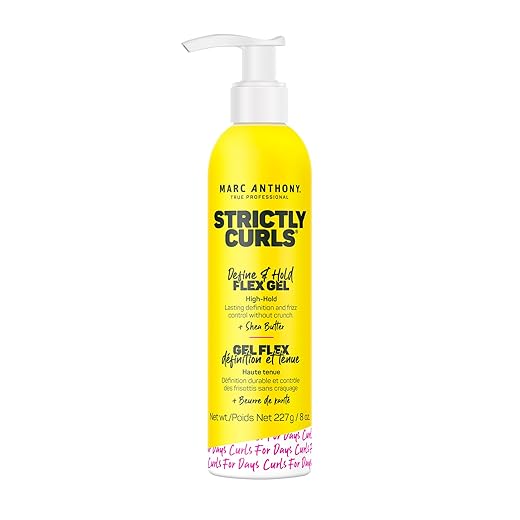
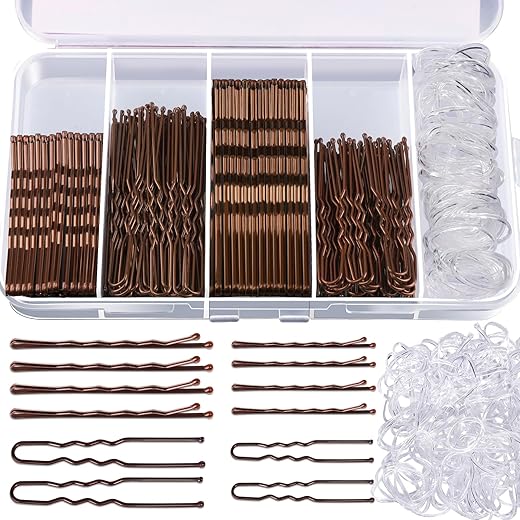
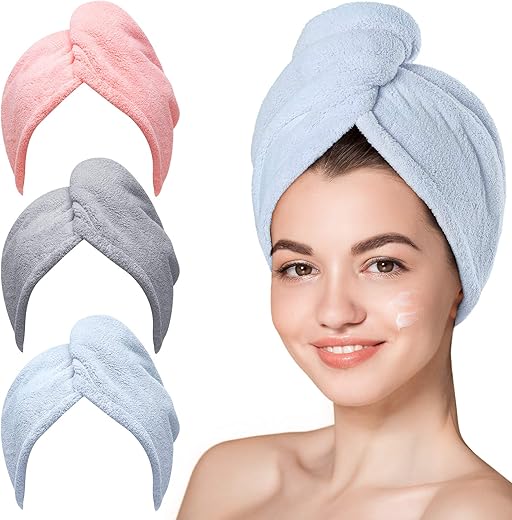
Mild sulfate-free shampoo, moisturizing conditioner, leave-in/cream, gel or custard, wide-tooth comb, microfiber towel or T-shirt, diffuser or air-dry, clips, spray bottle (clarifying shampoo optional)

Effortless Wash & Go: 6 Simple Steps for a Perfect Look
Step 1: Pre-Shampoo Prep — Detangle and Protect
Why skipping this is like planting seeds in rocky soilStart with dry or slightly damp hair and gently detangle in sections to prevent breakage and make cleansing easier. Apply a lightweight oil or conditioner — for example, argan oil, grapeseed oil, or a creamy shea conditioner — as a pre-poo to lubricate strands and protect ends from harsh surfactants.
Detangle with your fingers or a wide-tooth comb, working from ends toward roots, and secure each section with a clip. Spend extra time on knots and the crown where tangles concentrate — use short, patient strokes until the section slides freely.
If you have product buildup, rinse quickly with a clarifying wash, then rehydrate with conditioner before shampooing.
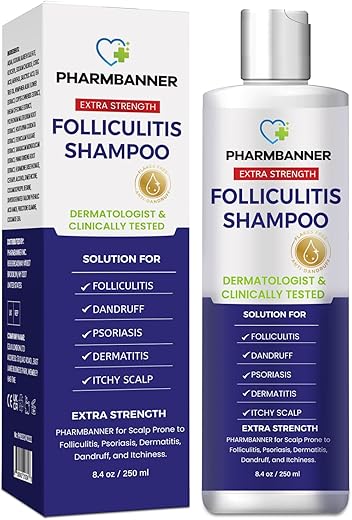
Step 2: Shampoo Smart — Cleanse Without Stripping
Can the right technique save your moisture?Focus shampoo on the scalp, not the lengths. Dilute a gentle or sulfate-free shampoo with water in a bottle (try 1:1) to avoid concentrated spots.
Massage the scalp with fingertips in small circular motions to lift oil and flakes — imagine polishing your scalp, not scratching it. Let the suds run downward to cleanse strands; avoid aggressive scrubbing of the lengths.
If hair is very dirty or product-laden, repeat with a second gentle cleanse. Rinse thoroughly with warm water, finishing with a cool rinse if you want to help close the cuticle.
Pat hair gently with a towel and move directly into conditioning to restore moisture.
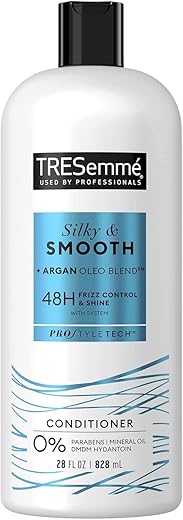
Step 3: Deep Conditioning and Detangling — Give Curls Life
Ready for maximum slip and zero breakage?After rinsing shampoo, apply a generous amount of moisturizing conditioner from mid-lengths to ends—use a golf-ball to palm-sized amount depending on length, concentrating where hair is driest.
Section hair and finger-detangle gently or use a wide-tooth comb, starting at the ends and working up. Use the prayer-hands method: press palms together over a strand and glide product down to encourage clumping and even coverage.
Cover with a plastic cap and sit under low heat or a hooded dryer for 10–20 minutes, or let sit longer without heat. Rinse partially for slip or fully depending on your styling plan; leave a little conditioner for extra definition. Seal ends with a lightweight oil after rinsing and before styling to lock in moisture and prevent frizz.

Step 4: Apply Leave-In and Styling Products — Layer Like a Pro
Layering counts — are you building a moisture fortress or a product graveyard?Work on soaking-wet or very damp hair for best distribution and minimal frizz. Start with a leave-in to create base moisture, then add an oil or cream, and finish with a gel or custard for hold. Choose LOC (leave-in → oil → cream) or LCO (leave-in → cream → oil) based on porosity and preference.
Apply products section by section using the rake-and-shake or prayer-hands and scrunch techniques to form even clumps. Use a pea-to-quarter-size amount per section—pea for short/thin hair, quarter for long/dense hair—and avoid heavy palms that flatten roots.
Finish with a light mist of water to reactivate and a final scrunch to set before diffusing carefully.
Step 5: Drying Techniques — Preserve Definition, Cut Drying Time
Diffuse, plop, or air-dry — which delivers the boss-level curl?Choose a drying method that suits your schedule and hair type. Plop with a cotton T‑shirt for 10–20 minutes to enhance clumping and reduce frizz (wrap and secure, then sit or move around).
Air‑dry for fragile or very fine strands; expect longer time but gentler results.
Diffuse for speed and volume: use low heat and medium airflow. Cup curls in the diffuser bowl and lift at the roots to encourage body without breaking clumps. Work in sections and hold each cup for a few seconds. Avoid constant touching—friction causes fuzz.
Stop when hair is about 90–95% dry, allow final set time to prevent crunchiness. If you want volume, fluff roots with fingertips when mostly dry, then finish with cool air.

Step 6: Finishing and Maintenance — Refresh, Protect, Repeat
Want curls that look salon-fresh on day three? Here's the cheat code.Scrunch out any gel cast or crunch by gently squeezing and rolling sections upward to reveal soft, bouncy curls.
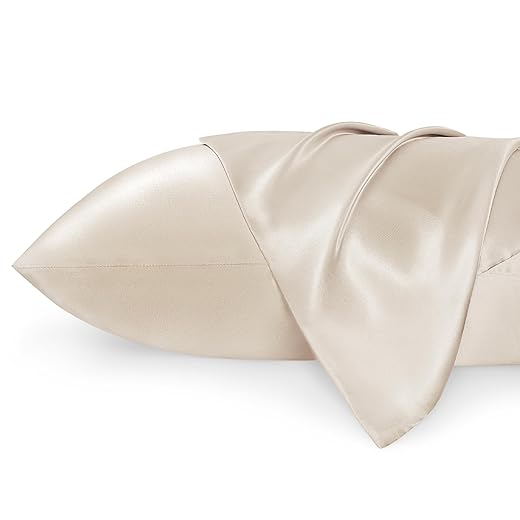
Pineapple hair loosely at the crown with a silk scrunchie, or use a satin bonnet and sleep on a silk pillowcase to minimize friction and moisture loss.
Mist hair lightly with water or a refresh spray containing leave-in and gently reshape curls with fingers or use a diffuser on low for quick touch-ups.
Avoid heavy product layering; refresh with small amounts and concentrate on roots and frizz-prone edges.
Consider a lightweight satin pillowcase extender to keep your edges intact overnight.
Final Thoughts: Own Your Curls
Consistency and technique beat endless products—use these six steps to craft your personalized wash-and-go, adjust products for porosity, protect curls nightly, and practice. Try this routine, share your results, and tag us to inspire others in our online community today

Hello! I’m Ava Wilson, a passionate advocate for healthy, beautiful hair. With years of experience in the hairstyling industry and a deep-rooted love for all things hair, I’ve made it my mission to share valuable insights and expert tips on nurturing and styling locks.


I gotta mention microfiber towels — game changer. Used to wring my hair with a bath towel and goodbye shape. Just a heads up: pat, don’t rub!
Agreed. Also, for those who sleep on cotton pillows, invest in a satin pillowcase. Saved my 2nd-day curl life.
Yes, microfiber or a T-shirt are your friends. Rubbing creates frizz; gentle patting and scrunching preserve the curl clumps.
The drying techniques section was gold. I started diffusing on low with a microfibre and cut my drying time in half. Still, humidity wrecks me. Any tips for humid days?
Humidity is brutal — try a thin anti-humectant layer (light oil or silicone-free serum) after your styling product has set. Seal with a light gel if you need extra hold. Also, a satin scarf at night helps keep definition for day 2.
I swear by a lightweight mousse under my gel on humid days. It gives structure without weight. Also, an umbrella. 😂
Love the finishing and maintenance tips. Also, for anyone who hates the crunch of gel: try applying a serum after the cast forms, then do SOTC. deflation but shiny.
Exactly — a light oil or serum can break the cast without harming definition if done gently. Good trick for second-day revival too.
Yep! I use a couple drops of argan oil. Hands off roots, though, or you’ll get greasy.
If you want no cast at all, try a gel alternative like a light foam — less cast but also less hold.
I always panic about adding oil after gel but it actually makes everything look natural again. Low key magic.
Loved the breakdown of layering products — finally makes sense! I used to slap on gel and wonder why my roots stayed weirdly flat. Trying the leave-in first then LOC method like you suggested.
One question: do you have brand recs for lightweight creams? My hair gets crunchy with most gels.
So glad that helped, Emily! For lightweight creams look for ones with water-based formulas and glycerin near the top of the ingredients. A couple crowd-pleasers are Camille Rose Curl Love and Kinky-Curly Knot Today (mix a little). If your gels are crunchy, try a softer hold or dilute with a tiny bit of leave-in.
I second Camille Rose — light and juicy. Also try scrunching out the crunch (SOTC) after 100% dry — saves you from that plastered feel.
I mix a pea-sized amount of hair oil into my cream to reduce crunch and add shine. Works wonders for my 3b-3c curls.
Fun read, thanks. But as a guy with 2a/2b waves, some of this felt a bit overkill. Not knocking it — just wondering how to simplify for looser curls without losing definition.
Like, do I still deep condition weekly? Or is that too much?
I have 2a/2b too — once I stopped overloading products and started plopping for 10–15 mins, my waves looked way better. Deep condition less often, yes.
Great point, Jason. For looser waves you can scale back: deep condition every 2–3 weeks or as needed, focus on lightweight leave-ins, and use less product overall. The key is adjusting amounts and avoiding heavy creams that weigh waves down.
Also, consider co-washing instead of full shampoo sometimes. Keeps natural oils without being heavy.
Adding: experiment with product dilution — mix gel with water in a spray bottle to get a lighter spritz that still adds hold.
Not overkill — just adapt! Try a watery gel or mousse for hold, and pro tip: rake product through and then scrunch, not too much to keep the natural movement.
Small nitpick: the guide mentions plopping but didn’t give timing — I plop for 20 minutes max, any longer and my roots get weird and flattened. Anyone else have ideal plop times?
Great detail to call out. Most folks do 10–30 minutes depending on hair thickness. Shorter for fine hair so roots don’t flatten, longer for thick hair to reduce frizz. Try 15 as a starting point.
15–20 works for me. If I want volume, I skip plopping and diffuse roots instead.
Two things: 1) love the ‘own your curls’ final thought — that’s the vibe! 2) I’m struggling with shrinkage; my curls look popping when wet but like a different head when dry. Any styling hacks to show more length?
Twist-outs or braiding sections after styling can give you stretched definition without heat.
Banding my hair in 4–6 sections after applying products gives noticeable length. Takes time but worth it for those stretched-out wash-and-go days.
Shrinkage is real and also a sign of healthy curls. To elongate, try banding while styling, stretch with a low-diffuse while gently pulling at roots, or use a heavier leave-in on mid-lengths to ends. Pineappling high at night helps keep length for day 2.
Okay real talk: step 1 pre-shampoo detangling — I always skip and then regret it. Took this guide’s tip to finger-detangle with conditioner in the shower and omg my brush doesn’t cry anymore.
Follow-up: anyone else do the detangle in sections? I find 4 sections is my sweet spot but curious how y’all manage thicker hair.
Same here! 6 sections and a little coconut oil on the ends for stubborn tangles. Not always necessary but nice on dry-prone ends.
Yes, sections are key for thicker hair. 4 to 6 sections usually works well — smaller if your curls are very tight. Helps product penetration too.
I go by ear — thicker days = more sections. Also try using a detangling spray if you need a quick option between washes.
I do 6 sections, and I use a wide-tooth comb only on conditioner. Finger detangling first removes the worst knots, then the comb finishes it. Saves so much breakage.
This guide is great for routine structure, but I wish there were more visuals. Some steps (like product layering or SOTC) are hard to picture for a newbie. Maybe add short video clips next time? 😊
Maybe include straight vs curly product swaps. Makes it easier to choose if you’re transitioning styles.
Yes please! A slow-motion SOTC demo would save a lot of guesswork for beginners.
Also a product layering chart (light to heavy) would be clutch. I’m visual-learning disabled 😂
Totally hear you — visuals would add a lot. We’re planning to add short clips and step-by-step photos in the next update. Thanks for the suggestion!
Shampoo smart section made me rethink sulfates. I switched to sulfate-free and while my scalp is happier, I feel like buildup takes longer to remove. How do you handle product buildup without stripping?
Apple cider rinse occasionally helps me. Not every wash, but once in a while it loosens product gunk.
Good observation. Try clarifying only as needed (once every 2–6 weeks depending on product use). Pre-pooing with oil, or rinsing with warm water and a small amount of clarifying shampoo targeted at the roots can help without full strip.
I use a clay mask every month — feels like a reset and isn’t too harsh.